Materials For Rainbow Loom Shoe Charms
A Rainbow Loom shoe charm is a tiny, colorful accent you can wire onto a lace or strap in under 30 minutes. Start with the basics, then build up a few ready-made patterns for quick replacements. You’ll learn a simple method first, then add color and texture to make each charm feel uniquely yours.
This project requires a small kit and a handful of colored bands. The key is to keep the base simple and secure, ensuring it holds up to daily wear. With a little practice, you’ll transform rubber bands into a wearable piece of mini art for sneakers, sandals, or kid-sized bags.
A basic charm takes 15-25 minutes; more elaborate pieces can run 30-45 minutes. The method translates to various shapes and color schemes, allowing for customization for holidays, teams, or moods. The payoff is a tiny, sturdy bead-like charm that won’t slip off easily.
Key Takeaways
- What you’ll need. A standard Rainbow Loom kit, about 60 rubber bands, two jump rings, and a clasp open new options.
- Time estimate. A basic charm takes 15-25 minutes; a detailed one can run 30-45 minutes.
- Shape choices. Start with a simple heart, star, or smiley before trying animals or letters.
- Color strategy. Contrast colors improve visibility; outline with a dark shade for definition.
- Finish matters. Seal the piece with a nondrying top coat or epoxy to boost durability.
- Attachment plan. Use a jump ring to link the charm to laces or straps, then test for snag resistance.
Materials for Rainbow Loom Shoe Charms
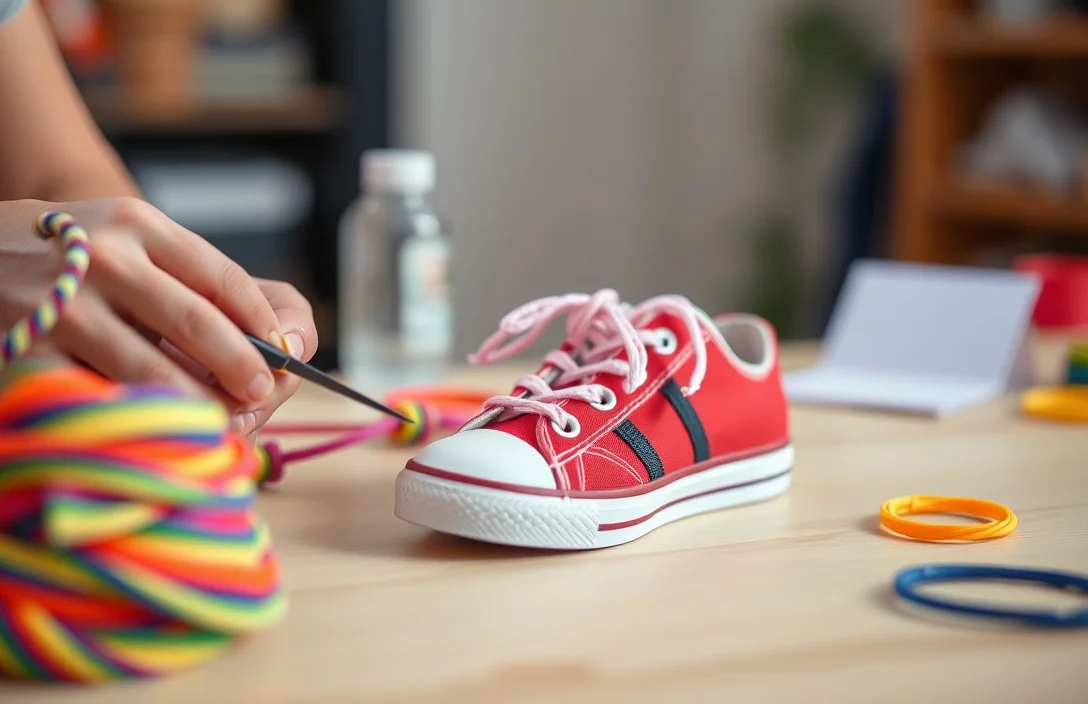
Dense, tiny projects demand a clean workspace. The first time you make a shoe charm, gather everything within arm’s reach: the loom, a hook, rubber bands in several colors, and a couple of small hardware bits to attach the charm to footwear. A smooth process helps you keep track of which color goes where and how the loops connect. With practice, you’ll internalize the sequence and cut setup time in half.
Here’s the core shopping list you’ll use every time. You don’t need every item at once, but most charms benefit from having these on hand:
- Rainbow Loom kit (classic loom, hook, and tension tool)
- Assorted rubber bands in at least 4 colors
- Small metal jump rings (size 6-8 mm)
- Jewelry pliers and cutting pliers
- Lobster clasp or S-clip for quick attachment
- Clear top coat or epoxy resin for sealing
- Small beads (optional for texture or detail)
- Scissors or nail clippers
- Pattern sheet or a notepad to plan color blocks
Optional extras can speed up the process. A bead loom or tiny charms tray helps keep bands organized. If you’re planning multiple charms, invest in extra jump rings and a spare clasp for quick design swaps.
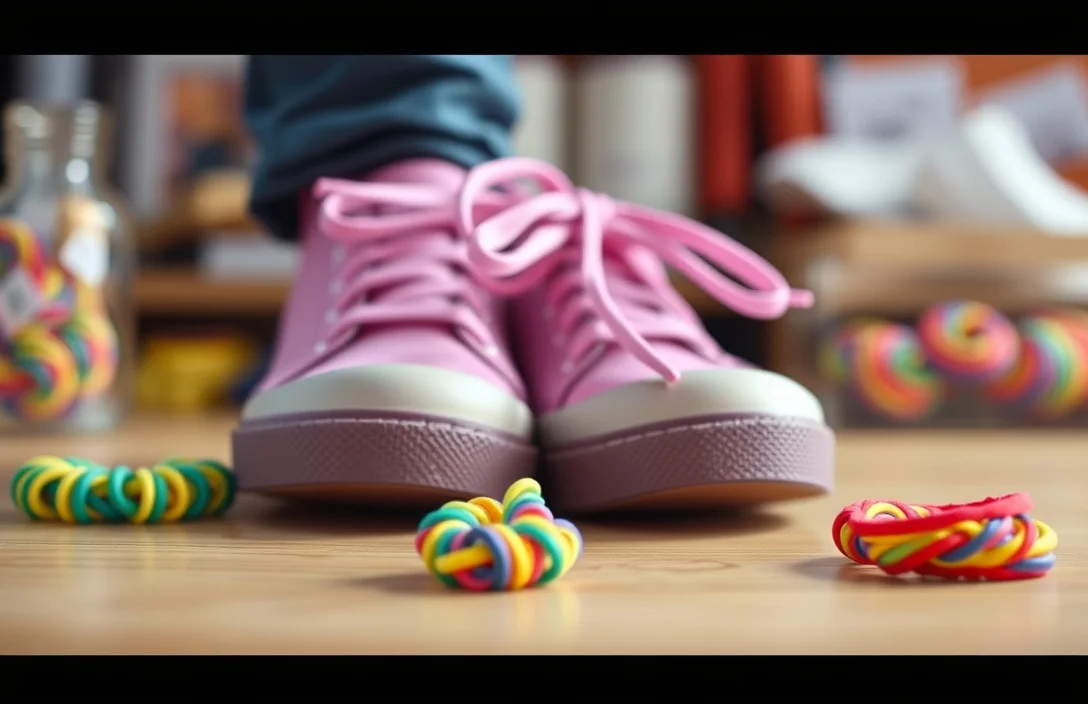
Design Ideas for Your Charm
Starting simple builds confidence. A tiny heart, star, or smiley face are perfect for beginners because they can be completed with a single color loop and a few fill bands. Once you’re comfortable, switch to two colors for contrast or try a tiny animal, letter initial, or sports logo. Each design teaches a new placement skill without overwhelming you.
To spark creativity, draft your color plan before you start weaving. For example, create a two-color heart: a bright pink outline with a white or pale pink fill. Place the outline bands first, then layer fill bands inside. Keep the border tight so the charm retains its shape when removed from the loom. A clear plan saves you from redoing sections and wasting bands.
Preparing the Rainbow Loom Setup
Choose a loom style that matches your goal. A standard Rainbow Loom block (about 2×3 inch footprint with a dozen pegs) is ideal for charms up to 2-3 cm. A mini loom works for even smaller shapes, while a circular loom helps when you want a rounded charm or badge look. If you don’t have a loom, substitute a comb or a small organizer with pegs; however, results depend on your patience and steadiness.
Setting up the bands matters as much as the design. Start by placing a base color around the outer edge to define the shape. Keep a small bowl or tray handy to corral bands so you don’t lose track of colors. Use a hook to guide and lift loops; this keeps fingers snag-free as you work. A tidy workspace translates directly into fewer drops and faster progress.
| Loom type | Typical peg count | Best for |
|---|---|---|
| Standard Rainbow Loom | 50-60 pegs | Most charms and practical shapes |
| Mini loom | 10-25 pegs | Tiny designs and quick practice |
| Circular loom | 24-40 pegs | Rounded shapes and embossed texture |
| Flexible loom (optional) | 40+ pegs | Larger patterns or multiple charms |
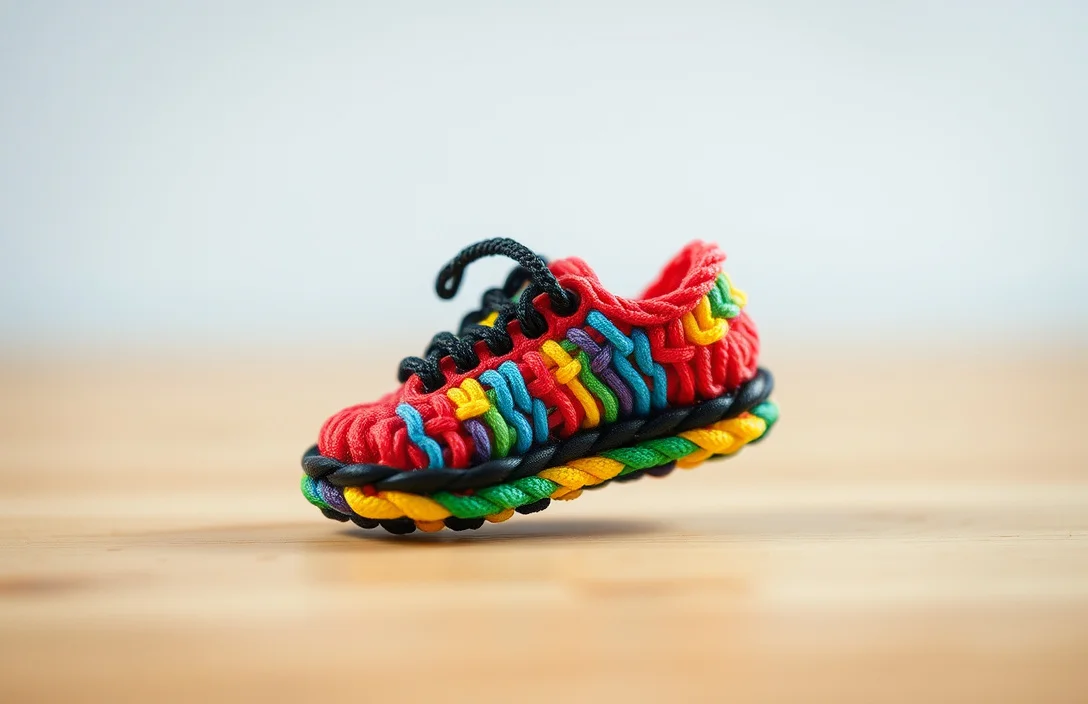
Weaving a Simple Shoe Charm
Begin with a simple base. Select a single-color band and anchor it across a row of pegs to establish the outer edge. Work slowly, ensuring each loop is snug against the last one. This frame will hold the shape even after removing the charm from the loom.
Now weave in fill bands. Layer a second color inside the outline, using the hook to pull loops over and secure each new band. Alternate colors to create a two-tone effect, ensuring every layer is visible from the front. This creates contrast and a crisp silhouette when worn.
1) Set up the loom with a base row in your main color.
2) Place a second band around the outline to establish the shape.
3) Add fill bands inside the outline, keeping the pattern tight.
4) Switch colors carefully to create two-tone edges and highlights.
5) Double-check all loops, ensuring there are no loose ends.
6) Remove the charm gently from the loom and prepare the loop for attachment.
Adding Color and Detail
Color adds personality, but it can also make the charm busy. Stick to 2-3 colors for a clean look, adding a highlight color for depth. For shading, place a darker color along one edge before filling with a lighter tone. This trick makes the shape pop without overwhelming the piece.
Details can come from beads or tiny accents. If you add beads, thread them onto a separate band and weave them into the border or interior. Be mindful of overall thickness; too many beads can distort the charm’s silhouette. Aim for small accents that stay centered and aligned with the edges.
Finishing and Sealing the Charm
A solid charm needs protection against moisture and wear. A quick-drying clear top coat is sufficient for casual use, but errands and kids’ shoes may benefit from a more durable seal like two-part epoxy. Test a small sample first to avoid running color or warping the shape. Allow the seal to dry fully before handling.
Sealing methods offer different trade-offs. Clear nail polish is quick and cheap but wears off faster. Epoxy resin provides a durable, glossy coat but requires proper ventilation and longer cure times. A flexible, water-based sealant is a middle ground. Apply in thin layers and let each layer cure completely.
- Clear top coat for speed and easy touch-ups.
- Two-part epoxy for long wear and a glossy finish.
- Water-based sealants for moderate protection with easier cleanup.
Finish steps can be brief but crucial. After sealing, wait at least 4-6 hours for a nail polish coat or 24 hours for epoxy. Gently test the cure with a light touch before moving to attachment. If the charm remains flexible or tacky, give it more time to dry before use.
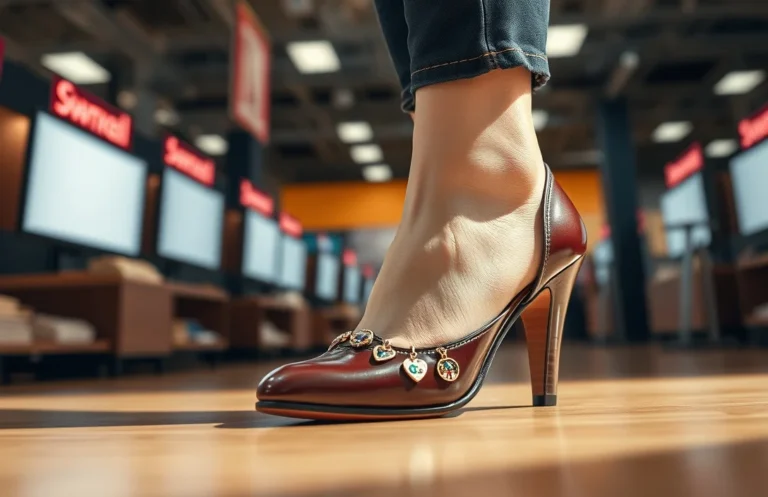
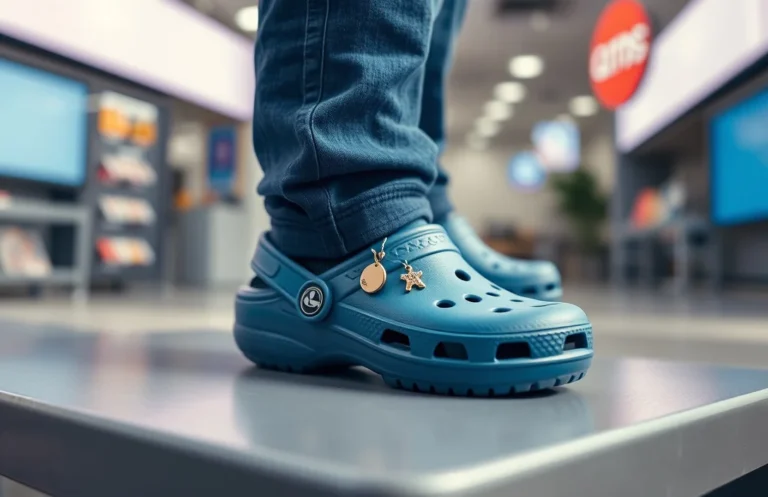
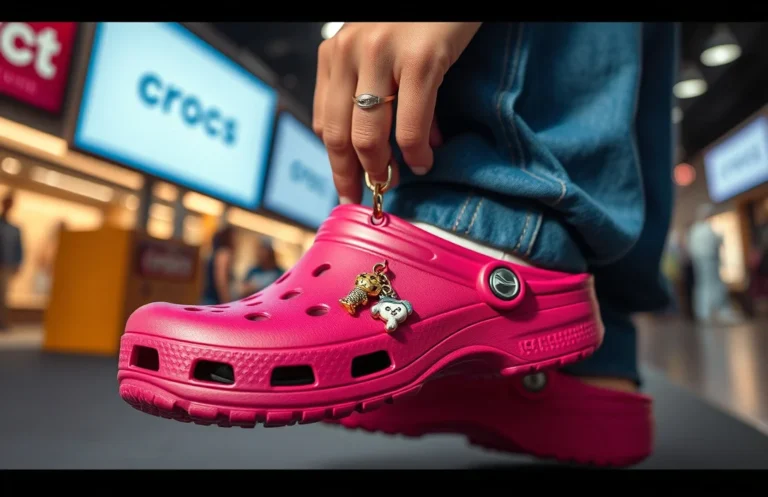
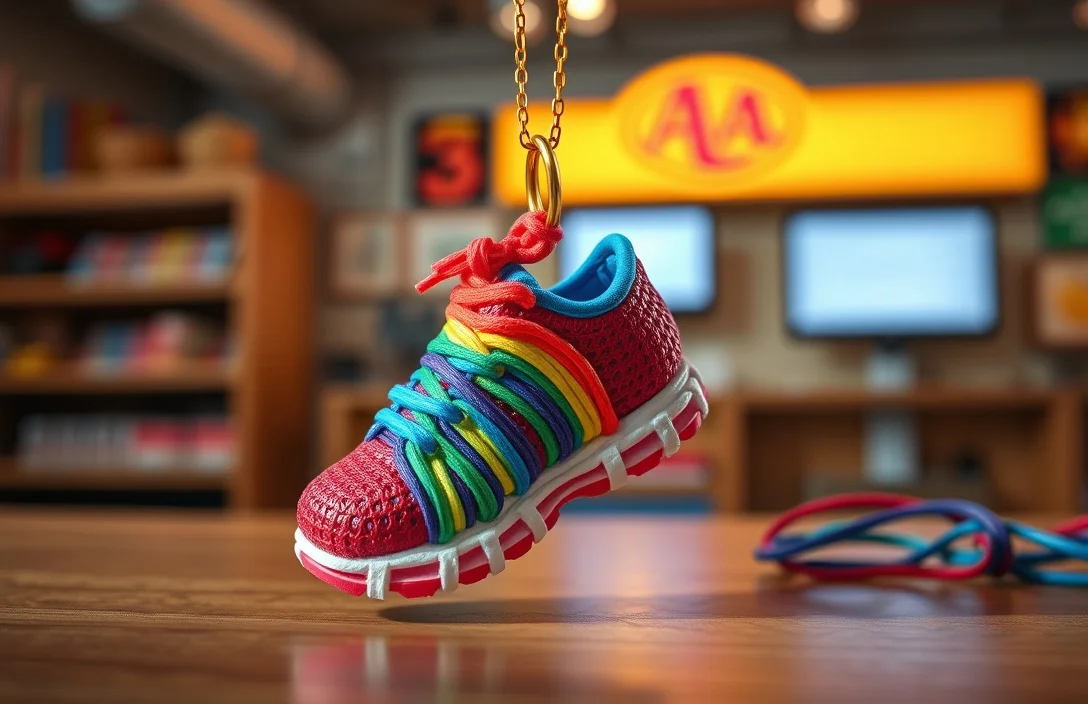
Attach to Shoes With Jump Rings
Attach the charm by threading a jump ring through the top loop you created and closing it with pliers. A 6-8 mm jump ring works well for most charms, providing enough space to thread it onto a shoelace or strap. For extra security, pair the jump ring with a small locking clasp or a short chain connector.
Test the completed piece by gently tugging on the charm. If it shifts or slides, check the ring alignment and ensure the base loop is rigid. Once satisfied, slide the charm onto a lace or strap and lace as normal. For example, loop the charm through a shoelace eye and secure it with a simple knot.
FAQ
How long does it typically take to finish a simple Rainbow Loom shoe charm?
A basic charm can be completed in 15-25 minutes, including setup, weaving, and sealing. Expect 30-45 minutes for a more detailed two-tone design with beads. The time drops as you gain familiarity with the steps and color plan. Practice on one charm before moving to multiple designs to keep momentum.
What is the simplest charm to start with for a beginner?
A small heart or star is best for beginners. These targets use 2-3 colors at most and require fewer loops to secure. Start with a 2-peg outline and expand to a 4-6 peg design. A simple shape helps you learn the basic weaving mechanics without losing patience.
Are there safety concerns I should know about when sealing Rainbow Loom charms?
Yes. If using epoxy resin, work in a well-ventilated area and follow the product’s safety instructions. Wear gloves and eye protection, and adhere to curing times. Nail polish is less hazardous but has fumes and can cause skin sensitivity if mishandled. Always let the seal cure fully before handling or attaching to shoes.
What is the most common mistake when weaving a shoe charm?
The most common mistake is leaving loose loops before sealing, which causes the charm to stretch or split. Keep each row snug and verify that the outer edge remains even as you fill the interior. If you see gaps, backtrack two steps and tighten the loops before continuing.
what’s a good alternative?
Use a small pegboard, a hand-held comb with evenly spaced teeth, or a tiny cord loom. You can also improvise with a stiff paper frame and toothpicks as pegs. The key is steady hands, a flat workspace, and secure loops. If you improvise, plan for shorter loops and slower progress to maintain uniformity.
Conclusion and Next
With your basic Rainbow Loom shoe charm mastered, you have a repeatable process that scales quickly. Start with a tiny heart, then branch into two-tone icons or tiny animals. Limit your colors at first, then experiment with subtle shading and bead accents. The next step is to design a small collection – three to five charms you can swap onto different shoes or bags.
Now you can turn a simple loom into a tiny, durable wearable. Practice, organize your color blocks, and seal each piece well to maximize longevity. When ready, attach several charms to a single pair of shoes for a themed set, or gift them to friends who love handmade accessories.

- How Do You Use Shoe Charms? Attach, Swap & Care In Minutes - June 24, 2026
- How To Remove Shoe Charms From Crocs? - June 24, 2026
- How Do Crocs Customizable Jibbitz Charms Enhance The Shoes? - June 24, 2026