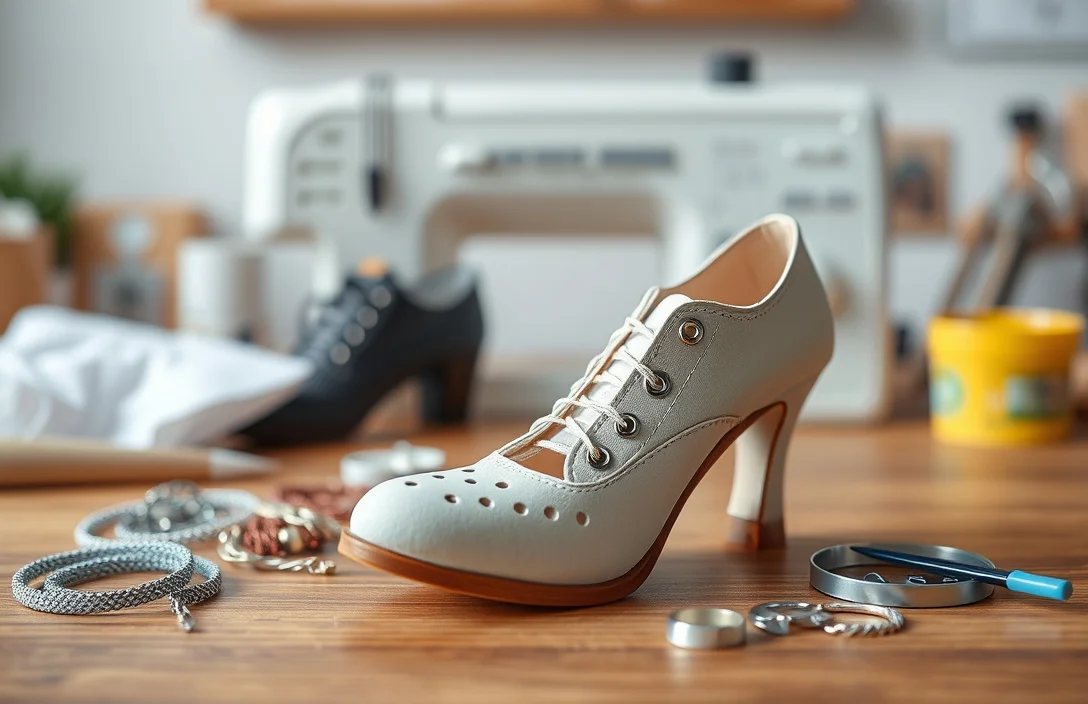
Choose Materials For A Shoe Charm
Your shoes can tell a story with a finished shoe charm. This small accessory clips onto laces or slides under eyelets, allowing you to swap styles in minutes. In under 30 minutes, you can assemble a basic charm using 2-3 beads, a centerpiece, and a secure attachment. Gather pliers, jump rings, wax thread, and a clear sealant to get started.
To create a shoe charm, use 2-3 beads, one centerpiece, and a securing method, finishing with a clear sealant. A basic kit includes pliers, jump rings, a clasp, and wax thread. You can complete a simple charm in under 30 minutes.
Key Takeaways
- Plan your design. Sketch a simple pattern and select 2-4 colors for a cohesive look.
- Choose durable findings. For most sneakers, 6 mm jump rings strike a balance between strength and weight.
- Build in layers. Start with a base bead, add a centerpiece, then a dangle for depth.
- Seal for longevity. A clear sealant and a 24-hour cure period help resist wear.
- Test fit first. Clip onto an old lace or the tongue area to confirm balance.
Choose Materials for a Shoe Charm
Durability and safety are crucial. Start with a sturdy base that won’t snag or break under normal wear, then choose beads and a centerpiece that stay secure when laced. Metal or sturdy plastic bases work best, ensuring edges are smooth and nickel-free to avoid skin reactions. For heavy activity or outdoor use, metal components with a protective coating are more durable than plain plastic.
The attachment method is just as important as the charm itself. Jump rings should be securely closed and sized to fit your laces or clips. A waterproof sealant helps your design resist sweat, rain, and sea air if worn outdoors. Keep the total weight light so the charm doesn’t pull on the laces.
For a small, balanced kit, gather a couple of bead colors, a centerpiece, 6 mm jump rings, a clasp or clip, waxed cord or nylon thread, and a clear sealant. If you mix metals, test for color transfer and rough edges on your first charm.
A clean workspace and good lighting are essential for threading small components accurately. Store beads in small containers to avoid confusion during assembly. Use glue only if necessary to secure a stubborn piece, and avoid excess adhesive near the laces.
Select Beads, Charms, and Components
Bead size and shape affect both aesthetics and wearability. Seed beads (2-3 mm) create delicate backgrounds, while 4-6 mm beads are easily visible on sneakers without feeling bulky. For a focal piece, choose charms 8 mm or smaller that sit comfortably on your shoe’s tongue or around the lace area. Favor glass or high-quality plastic beads that resist chipping.
Components also matter. Jump rings should be closed tightly to prevent spinning. Clamps or small clasps provide a secure attachment without risking the bead sliding off. For interchangeability, consider a clip-on system or detachable chain for quick swaps. Opt for nickel-free metals or coated alloys to minimize skin irritation.
| Item | Size/Type | Pros | Cons | Best For |
|---|---|---|---|---|
| Jump rings | 4-6 mm | Lightweight, strong when closed | Can snag if not closed properly | Lacing and clip attachment |
| Charms | 8 mm or smaller | Clear focal point, easy to swap | Too large can crowd the lace area | Decorative centerpiece |
| Seed beads | 2-3 mm | Creates smooth background, low profile | May be hard to thread for beginners | Subtle designs |
| Clasps or clips | Small lobster or snap | Easy removal and reusability | May require extra space on shoe surface | Interchangeable charms |
| Cord/Thread | Waxed nylon | Strong, water-resistant, holds knots well | Can fray if over-handled | Attachment base |
Start with a single base color and a contrasting centerpiece for better visibility. If you expect frequent swaps, choose a clip system over constant re-threading. Avoid bulky beads to keep balance and prevent crowding the shoe’s upper area.
Design Your Charm Pattern

A clear pattern keeps the charm visually cohesive. Decide on a color palette first, then map a symmetrical layout or a simple asymmetric design to highlight the centerpiece. If you’re new, a two-tone scheme with a central bead works well and allows for future embellishments. Sketching on paper or using a digital mockup can save time during assembly.
Lay out your design before threading. Position the centerpiece at the center, then arrange supporting beads evenly on either side. Reserve space for any dangling elements to avoid colliding with the laces. For example, a horizontal row of three beads with a single dangling charm centered above the lace loop creates a balanced look.
Once you’re satisfied with the arrangement, photograph it or pin it on a foam pad to replicate it easily. Maintain moderate tension on the thread as you build to prevent gaps between beads. A simple, repeatable pattern speeds up future charm production.
Prepare Shoes for Attachment
Clean the shoe surface where the charm will sit. Use alcohol or mild soap to remove dust, oils, and residue, then dry completely. A clean surface helps beads stay secure and adhesives work effectively. Ensure the attachment area is flat and free of stitches or decorative overlays, especially near lace holes or eyelets.
Next, dry fit the pieces. Place the base beads on the lace area with the lace loosened to check clearance. If using glue, apply a tiny amount to the back of the base piece; too much can overflow and stiffen the lace. If using a clip or jump ring, ensure the mechanism has room to swing without catching on the shoe tongue.
Steps to prepare the surface:
- Clean and dry the area thoroughly.
- Verify there’s space for the charm without crowding stitches.
- Test fit with the lace loosened before final assembly.
- Choose a fastening method that suits the shoe type and activity.
Attach Charm with Laces or Clips
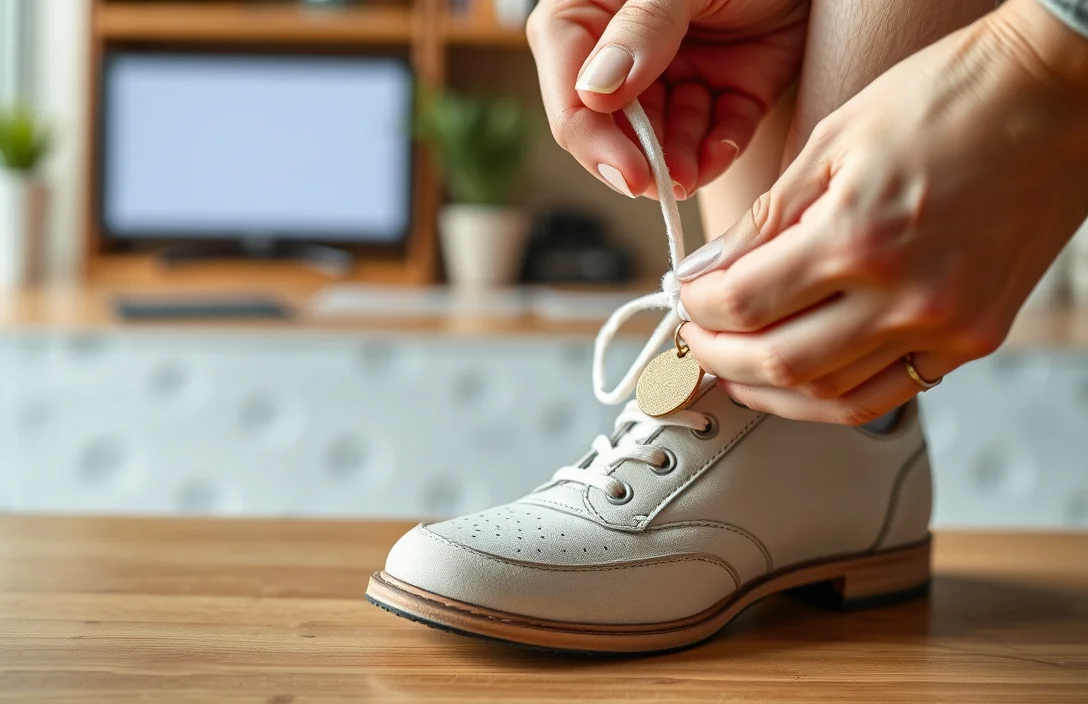
Attach your charm using a method that balances ease of use and durability. For threading through lace holes, thread a jump ring through the bead network and close it securely before drawing the lace back through. Anchor the base with two to three wraps of waxed thread, then knot and trim the ends. A properly closed jump ring prevents the charm from rotating and snagging.
Alternatively, clip the charm to the lace tip or a discreet area along the tongue using a small clip or carabiner-style fastener. Clips are ideal for frequent style changes and for kids who may prefer easy removal. Gently tug the assembled charm to ensure it stays secure during walking.
Start with a small, tight assembly. Keep it tight but not overly so, allowing the beads to breathe and move slightly. If you notice loosening or fluttering, recheck the jump ring closures and knot integrity. Finish by trimming any excess thread and applying a light touch of sealant around the back of the base to keep moisture out.
Seal and Weatherproof the Charm
A sealant layer protects the charm from sweat, rain, and repeated flexing. Apply a thin coat over the exposed surfaces and allow it to cure according to the product directions. For best results, apply a second coat after the first has cured. A typical cure window for water-based sealants is 24-48 hours, so plan for no wear during this period.
Weatherproofing also stems from careful material choices. Use UV-stable finishes for sun exposure and avoid porous beads that absorb moisture. For heavy wear or outdoor use, consider a resin-based sealant that forms a hard film to reduce chipping and extend the charm’s life.
Don’t skip the curing step. A fully cured charm resists flaking, cracking, and color transfer when tying and untying laces. Revisit the sealant annually for a quick refresh if you wear the same pair in varied conditions. For a purely decorative, low-wear charm, a single coat with a shorter cure time can suffice.
Customize for Styles and Occasions
Make your charm suit the moment. For sporty looks, choose monochrome beads with a bold centerpiece that echoes team colors. For a casual streetwear vibe, mix metallic accents with bright enamel beads to catch the eye. For formal or school events, limit the palette to two or three colors and a refined centerpiece.
Seasonal updates keep your charm relevant. Replace the centerpiece or swap beads to reflect holidays, birthdays, or seasonal moods. Store completed charms in small airtight bags to protect colors and avoid tangling. A neutral base can allow the charm to work across multiple shoe styles.
Plan a small rotation: one monochrome daily pair, one bold accent for weekends, and one seasonal piece. This reduces clutter while keeping your options open. Maintain a consistent attachment method across all charms for quick swaps between shoes.
FAQ
How much does it cost to make a shoe charm?
The cost depends on materials and finishes. Simple projects can stay under $5, while elaborate setups with metal findings and glass beads can run $10-$20 per charm. Budget-friendly kits typically range from $5 to $15. Expect basic supplies to cover 2-3 charms, with additional beads or clips adding to the total.
How long does it take to make one charm?
A basic charm takes about 20-40 minutes from design to finish for a first-timer. With practice, you can cut that to 15-25 minutes per charm, especially if you keep a ready-made pattern and a small parts tray.
Is it safe for kids to make shoe charms?
Yes, with supervision and age-appropriate parts. Use larger beads (4-8 mm) and kid-friendly clips, avoid sharp edges, and keep small parts away from very young children to prevent choking hazards. Always supervise lacing steps and glue use.
How do you remove or replace a shoe charm?
Detach by opening the jump ring and sliding it off the lace, or unclip the charm from the eyelet clip. Have a small container ready for the parts to prevent losing pieces. When reattaching, reuse the same method to keep consistency across pairs.
What if a charm breaks or wears out?
If a bead or centerpiece cracks, replace the affected piece and reseal. For loose rings, reclose the jump ring with needle-nosed pliers and test the fit. If the charm shows extended wear, consider replacing the entire kit or switching to a sturdier attachment option.

- How Do You Use Shoe Charms? Attach, Swap & Care In Minutes - June 24, 2026
- How To Remove Shoe Charms From Crocs? - June 24, 2026
- How Do Crocs Customizable Jibbitz Charms Enhance The Shoes? - June 24, 2026