How To Make Crocs Shoe Charms? 9 Steps
Learning how to make Crocs shoe charms lets you personalize your everyday clogs fast and affordably. Start with a plan, gather clay and a few basic tools, and you’ll finish in under an hour. The process includes choosing charms, designing polymer clay pieces, baking, sealing, and attaching them to Crocs.
DIY Crocs charms can be completed in under 60 minutes. You need polymer clay, a rolling pin, a sharp knife, a baking sheet, and a clear sealant. Design, bake, cool, seal, and attach to Crocs holes; keep designs simple for best results.
Key Takeaways
- Materials at hand. Have polymer clay in two colors, a rolling pin, a craft knife, a baking sheet, and a sealant ready.
- Prep space. Clean the area, cover it with parchment, and preheat the oven to 275°F.
- Plan designs. Sketch 3 ideas to keep complexity manageable.
- Bake and cool. Bake for 15-25 minutes per 1/8 inch thickness; cool completely.
- Seal and test. Apply a gloss sealant and let it cure for 24 hours.
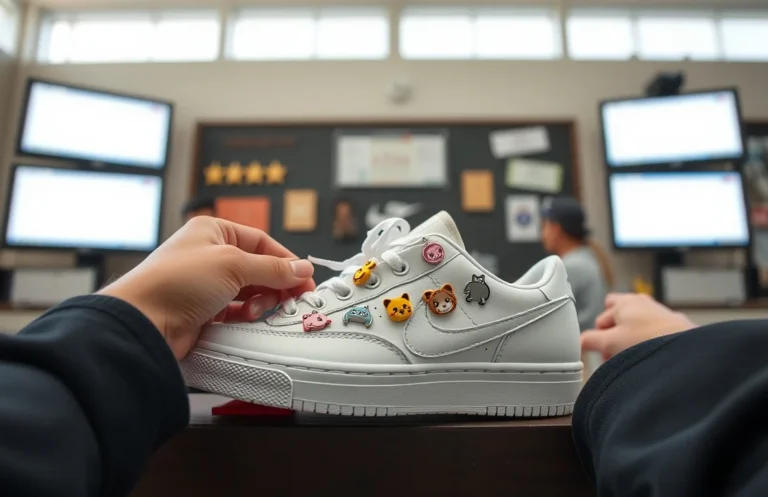
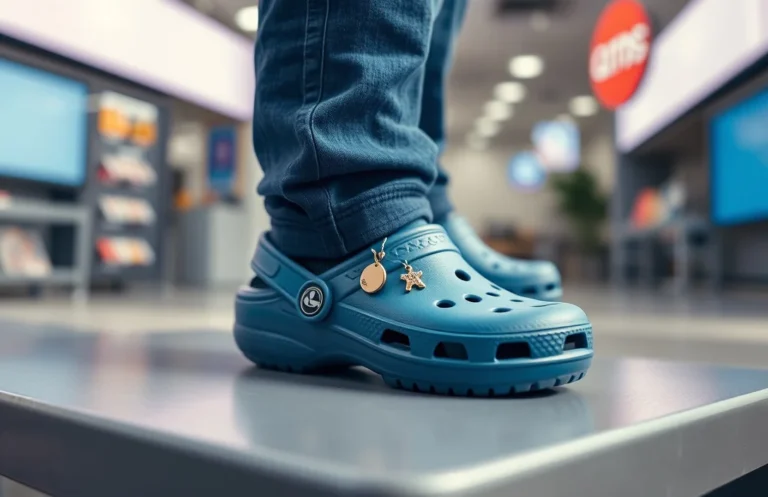
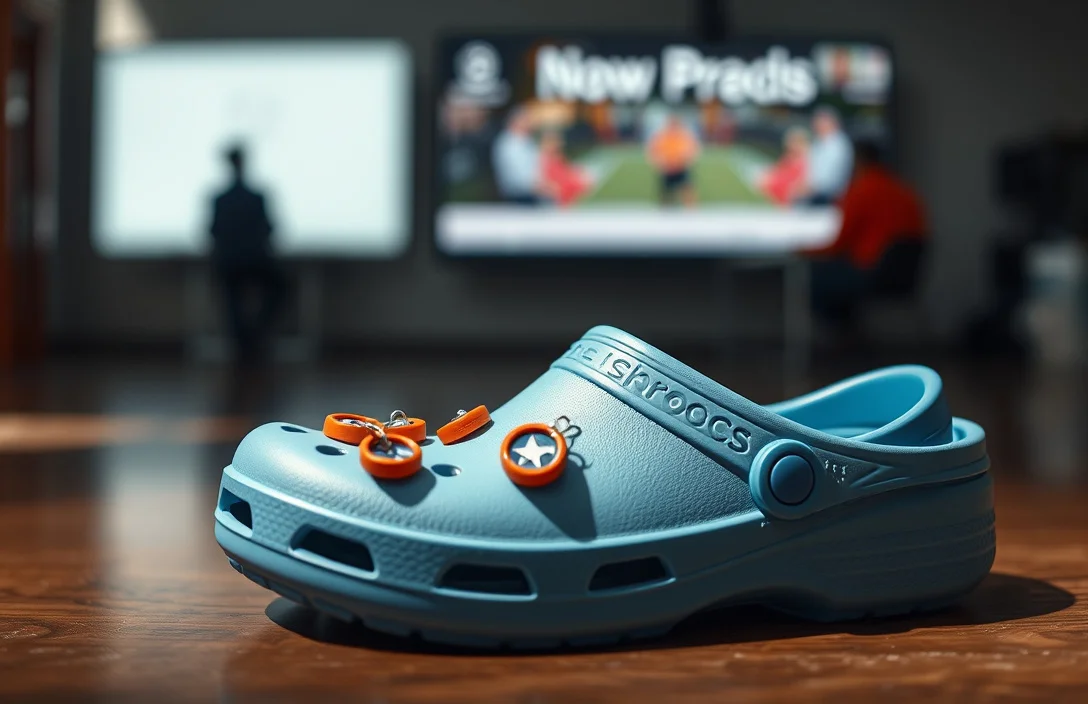
Choosing Charms for Crocs
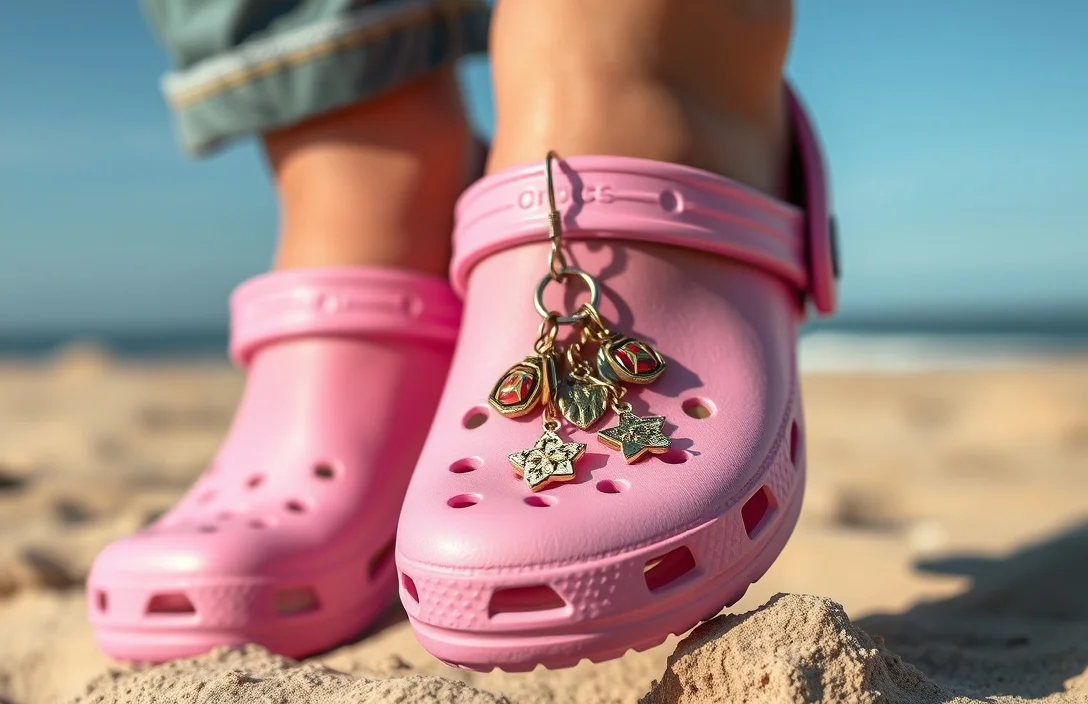
Select charms that fit Crocs holes and match your style. They should sit flat to avoid snagging socks or pant cuffs while remaining visible when worn. Bold silhouettes and clean edges work best, as the small Crocs holes require designs that are easily recognizable from a short distance. If you’re new to DIY, start with 2-3 shapes you like, then expand later.
Consider attachment durability and how the charm will hold up during outdoor wear. If you only have a few Crocs, limit your initial set to 2-4 designs per pair to keep costs reasonable. Durability is crucial for washing and frequent wear, so plan for tight seams, sealed surfaces, and smooth edges. A little planning upfront saves re-dos.
| Charm Style | Pros | Cons | Ideal For |
|---|---|---|---|
| Polymer clay charms | Custom shapes, precise color control | Requires sealing to prevent color fading | Unique, personalized looks |
| Beaded charms | Sparkle, lots of color options | Can be heavier, may catch on fabric | Bold, festive styles |
| Vinyl decals | Quick to produce, inexpensive | Moisture and wear can cause peeling | Fast customization and testing |
| Pre-made Crocs style pieces | Durable when baked correctly | Limited shapes | Everyday, repeatable looks |
Polymer clay charms are the most common DIY choice because you can shape them into anything and control the color precisely. Beads add personality but risk snagging on laundry or clothing. Vinyl decals are the cheapest way to test ideas, but they won’t last as long in wet conditions. For quick results, start with a few ready-made Crocs-esque pieces and adapt designs around them.
Designing Polymer Clay Charms
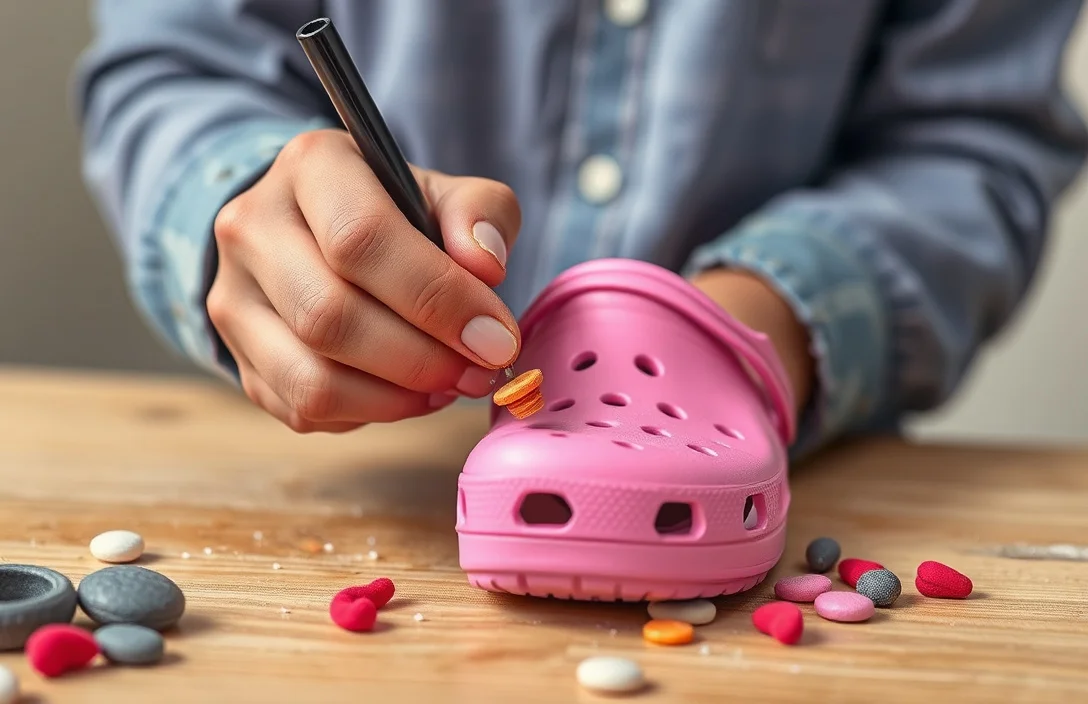
Polymer clay allows you to sculpt any shape, color, or texture. Start with bakeable clay labeled for home ovens; avoid air-dry clay because it won’t survive heat. Decide whether you want clean geometric shapes or organic textures, then plan the size to ensure visibility in Crocs holes.
Think about durability and how you’ll attach the piece later. If you bake with a small hole or post, you can thread a jump ring or pin after curing. Simpler, flatter designs tend to last longer outdoors and are easier to attach. Keep edges smooth and consider tiny textures like dots or lines for better visibility at close range.
1) Plan shapes. 2) Condition clay. 3) Roll to 1/8 inch thickness. 4) Cut shapes. 5) Poke holes for post or threading. 6) Add texture or details. 7) Bake the shapes. 8) Cool completely before handling. 9) Test fit with Crocs holes and adjust thickness if needed.
Limit the color palette to two or three hues for readability. Mixing too many tones can make the charm look blurred from a distance. Keep the design simple enough to recognize at a glance, especially when attached to busy footwear.
Showcasing Your Project
A good post showcases your project so others can replicate it. Combine a clear materials list, a brief overview of the process, and high-contrast photos of each stage. Use natural light, shoot from multiple angles, and include a final shot of the charms in a Crocs shoe for scale. A reproducible recipe helps readers go from idea to finished charm quickly.
Structure is key. Start with a quick summary of what you made and why it works on Crocs. Lay out what you’ll need briefly, followed by a step-by-step walkthrough. Close with a few pro tips you learned while crafting. Readers want to see outcomes and a reliable process they can copy.
1) Start with a photo sequence. 2) List the essential tools and materials. 3) Write a concise step-by-step guide. 4) Add a quick troubleshooting note. 5) Include a closing line with next project ideas.
For example, a post could feature three finish ideas – bold primary colors, a pastel vibe, and a metallic accent – to show how one core method can yield different looks. Caption ideas should emphasize ease and customization: “Made these in under an hour; perfect for gifting or everyday wear on Crocs.” Keep the tone practical and friendly.
Baking and Curing DIY Charms
Baking is the heart of the process. Bake at a low, Crocs-friendly temperature and monitor the time to avoid scorching. Most bakeable clays require about 265-275°F for 15-25 minutes per 1/8 inch of thickness. Aim for a firm, fully cured piece with no soft spots. After baking, let the charms cool on a nonstick surface before handling.
Cooling is crucial. Temperature shocks can warp shapes, so move baked charms to a cool, flat surface and avoid stacking while they cure. If you want a glossy finish, cure the glaze at room temperature for the recommended 24 hours before handling or attaching. For experiments, bake a small test shape first to confirm thickness and bake time work with your clay brand.
Thicker designs require more time in the oven. If a charm feels flexible after the standard bake, give it an extra 5-10 minutes and re-test. Don’t rely on color change alone to judge doneness; hardness and edge crispness are better indicators of a full cure. When in doubt, err on the side of a longer cure, then allow a full cooldown.
Sealing and Finishing Touches
Sealants protect colors and keep moisture from staining the clay over time. A clear gloss or satin finish works well for Crocs, and a UV-resistant option helps prevent color fade after outdoor wear. Apply a thin, even coat and let it dry fully before applying a second coat if needed.
Two coats are usually sufficient. Allow each coat to cure according to the sealant’s instructions, typically 4-24 hours. If you notice any tackiness after the first coat, give it a longer cure before adding a second layer. Inspect the charm for sharp edges and sand lightly with fine grit if needed before sealing for the smoothest finish.
After sealing, test the charm’s resilience by gently flexing it. If the surface peels or flakes, re-seal or redo the charm using fresh clay and a new sealant. When you’re satisfied, store unfinished pieces flat in a dry, dust-free area to prevent color transfer or debris from marring the surface.
Attaching Charms to Crocs
Attach charms in a way that respects the Crocs hole design and your daily wear. The most reliable DIY approach uses a pre-drilled small hole in the charm through which you thread a short jump ring or a small pin. If your charm lacks a hole, glue is an option, but it is less durable for outdoor wear and washing.
Two practical methods work well. First, embed a small post or eye pin during the design phase and thread a jump ring after baking. Second, use a Crocs-compatible clip backer that snaps into the holes, providing a secure fit without adhesive. Always let glue cure completely before wearing.
For best results, test fit before final attachment. Place the charm near the Crocs holes, check alignment with the strap, and ensure there’s no pressure on the footbed that could cause detachment. If you’re making multiple charms, consider spacing and balance on both sides for a symmetrical look.
Safety and Care for DIY Charms
Keep small parts away from young children and pets to avoid choking hazards. Choose non-toxic clay and sealants rated for consumer use, and avoid sharp edges during shaping. If you’re using metal findings, ensure they’re corrosion-resistant and rust-proof for outdoor wear.
Care tips keep your charms looking fresh. Clean with a damp cloth and mild soap if they pick up dirt, and re-seal every few months to preserve color and finish. Store completed charms in a dry, cool place away from direct sunlight to prevent color shift. If a charm shows wear or cracks, replace it rather than trying to repair a compromised piece.
FAQ
How long does it take to make Crocs charms from start to finish?
Expect about 45-90 minutes for a small set and 90-180 minutes for a larger batch. Baking and sealing add additional time, so plan a single session or split it into two for best results. Tip: bake multiple charms together on a single sheet to save time.
What tools do I need to make Crocs charms?
You’ll need polymer clay, a rolling pin, a sharp craft knife, a small baking sheet, a UV or acrylic sealant, and fine-grit sandpaper for finishing. Optional items include jump rings, eye pins, and a small drill for pre-punching holes. Having a dedicated workspace helps keep everything organized.
Is polymer clay safe for kids to use?
Yes, provided you choose bakeable, non-toxic clay and supervise use around small parts. Pre-bake all shapes and avoid sharp tools; use a kid-friendly blade or plastic cutter. Always follow the clay brand’s safety guidelines and oven directions.
How do I attach charms to Crocs without damaging the shoes?
Embed a small hole or post in the charm before baking to thread a jump ring after curing, or use a Crocs-compatible clip backer. Avoid strong adhesives that can degrade the Crocs material with moisture or heat.
What is a common mistake when making Crocs charms?
Overcomplicating shapes, using too many colors, or skipping the sealing step. The result is colors that fade or edges that chip after wear. Keep designs simple and seal thoroughly for durability.
You can customize Crocs charms at home in under an hour per set with basic polymer clay skills. Start with 2-3 shapes, bake carefully, seal, and attach using a simple post or clip method. Pick two to three color palettes and draft a quick plan for your first charm set.

- How Do You Use Shoe Charms? Attach, Swap & Care In Minutes - June 24, 2026
- How To Remove Shoe Charms From Crocs? - June 24, 2026
- How Do Crocs Customizable Jibbitz Charms Enhance The Shoes? - June 24, 2026