How Do You Use Shoe Charms? Attach, Swap & Care In Minutes
Shine up your everyday shoes with simple, swap-friendly shoe charms. Clip or thread a charm onto laces or eyelets, then adjust the tie so it stays in place. You’ll swap looks in seconds, whether you’re dressing up sneakers for a night out or adding personality to a kid’s school shoes. Start with a small set to learn the attachments before investing in larger collections.
Shoe charms are small decorative pieces that attach to laces or eyelets to personalize footwear. Most sets include 8-24 pieces and 2-4 attachment methods. You can swap charms in under a minute, depending on the lace type and desired snugness.
Key Takeaways
- Attachment basics. Charms attach to laces or eyelets; choose a method based on lace type.
- Swap speed. Most charms can be swapped in under 60 seconds without untieing the entire lace.
- Shoe-type compatibility. Sneakers handle clip-on or threaded charms, while boots tolerate longer pieces.
- Care routine. Wipe with a damp cloth and dry completely to prevent tarnish or corrosion.
- Storage tactic. Keep charms in a divided tray to prevent tangling and loss.
- Safety check. Ensure charms do not create trip hazards or snag on objects.
What Are Shoe Charms and How Do They Work?
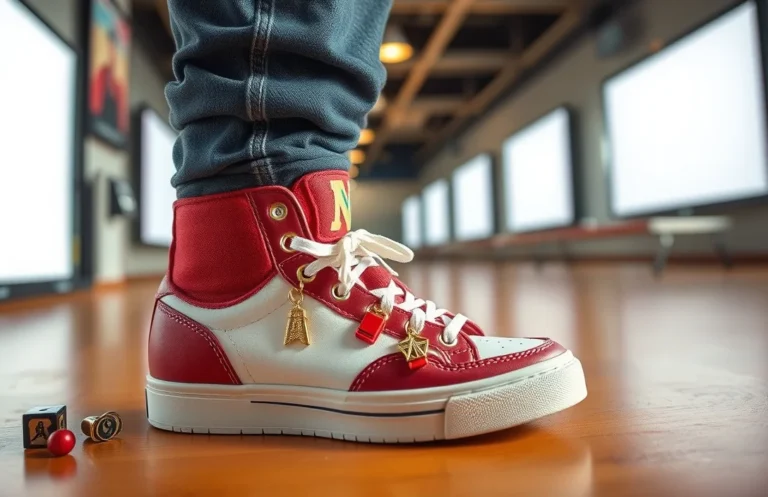
Shoe charms are tiny decorative pieces designed to personalize footwear. They come in various shapes, colors, and finishes and attach to laces or eyelets in a few reliable ways. Common attachment methods include threading the lace through a charm’s loop, clipping the charm onto the lace or eyelet edge, or snapping a small fastener into place. Materials range from enamel and resin to metal and acrylic, with designs including emojis, letters, symbols, and seasonal motifs.
Charms stay in place by using the lace path or a secure clip. Threaded charms slide on the lace as you tie the knot, while clips grip the lace or eyelet edge. Sets typically include multiple pieces, so you can mix and match to change the look in seconds. For a subtle effect, pick slim charms that sit close to the tongue; for bolder outfits, opt for larger or shinier pieces that catch the eye.
How to Attach Charms to Laces Securely
Start with clean, dry laces and a calm setup. Decide whether to thread the charm on the lace or clip it to an eyelet. For threaded charms, slide the lace through the charm’s loop and position it near the top or a comfortable mid-spot, then retie or snug the knot. For thicker laces, place the charm toward the upper third to prevent shifting during activity.
For clip-on charms, open the clip gently and attach it to the lace just above the eyelet or to the eyelet itself. Snap or squeeze the clip shut so it sits flat and secure. If your laces are very thin, consider a clip-on option or a small silicone sleeve to protect the lace from wear. Test a quick walk around the room to confirm the charm stays put without catching on socks or pants.
Choosing Charms for Different Shoe Types
Sneakers and athletic shoes accommodate most charm styles, but bulky pieces can feel off and risk catching on tongues or laces. Aim for low-profile charms that sit close to the tongue, or use clip-on pieces that grip the lace without adding length. Bright enamel, emoji shapes, and letters work well here. Position charms so they don’t rub against the tongue or top eyelet when you tighten.
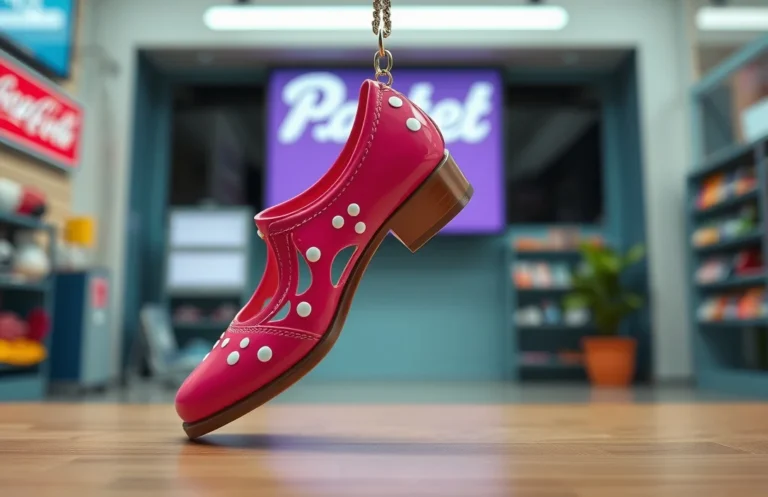
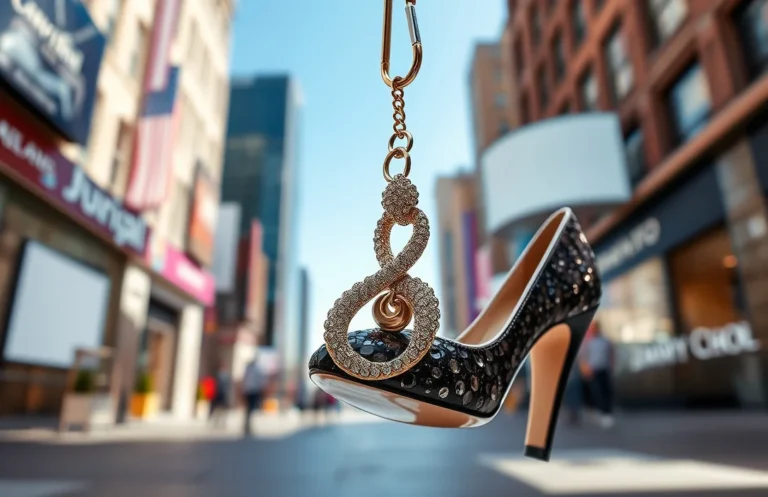
Boots and dress shoes can handle longer strands or sturdier clips. For ankle boots, choose charms that stay toward the top lace lines to avoid discomfort against the ankle. For loafers and flats, small flat-back charms prevent discomfort and remain hidden under the laces. In boots with thick laces, longer charms can anchor at the first or second eyelet for balance across the shaft.
| Shoe Type | Recommended Charm Style | Why It Works | Tips |
|---|---|---|---|
| Sneakers/athletic | Low-profile, clip-on or thread-through | Sits near the tongue, avoids bulk | Test comfort; keep to a moderate number of pieces |
| Boots | Longer strands or sturdy clips | Handles thick laces; visible flair | Place at top lace line; avoid cuff irritation |
| Loafers/Flats | Small flat-back or stud charms | Minimal bulk; sits under laces | Choose durable materials; avoid sharp edges |
| Sandals | Surface-safe, strap charms | Attach to straps without hard edges | Use soft pads to prevent slipping |
Styling Ideas to Mix and Match Charms
Experiment with color, theme, and placement. Start with a color family – neon accents with complementary tones – or a metallic accent for a cohesive look. Place 2-4 charms near the top laces, then a couple more near mid-lace for balance. For a seasonal or event theme, rotate between holiday icons, sports symbols, and initials to reflect the moment.
Map outfits to charms. A party look might pair star and cake charms, while everyday wear can lean on simple initials or tiny symbols. Group matching shapes or mix contrasting textures to create depth. Keep the overall footprint comfortable; if your feet feel different with a set, trim back to the essentials.
Care and Cleaning Your Shoe Charms
Proper care keeps charms looking good longer. Wipe with a damp cloth after wear, then dry completely. For metal charms, a light polish prevents tarnish, but avoid harsh chemicals that may weaken coatings. Inspect clips and loops monthly and replace any bent parts.
When not in use, store charms separately from shoes in a small jewelry box or divided tray. Avoid stacking heavy pieces on delicate enamel to prevent chipping. If your charms get dirty, a mild soap and water wash followed by air drying works well for most materials.
DIY Shoe Charms vs Store-Bought Options
DIY charms offer customization and cost control but require time. Repurpose plastic beads, epoxy shapes, or small charms you already own. Expect to spend 20-60 minutes assembling a set, depending on complexity. The upside is total personalization and the satisfaction of a one-off look.
Store-bought charms deliver consistency and speed. Pre-made designs snap or thread easily and are ready to wear out of the box. Prices vary by material and brand, typically costing $5-$20 for 8-24 pieces. The downside is limited customization and the risk of repeating motifs.
| Option | Pros | Cons | Typical Cost | Best For |
|---|---|---|---|---|
| DIY charms | Fully customizable; reuse supplies | Time-consuming; precision matters | $0-$10 materials | People who want unique looks |
| Store-bought | Quick, consistent quality | Less customization; potential repetition | $5-$20 per set | Quick refreshes and gifting |
Removing and Storing Shoe Charms
To remove charms, reverse the attachment method. For threaded charms, slide the lace back through the charm or unthread the lace from the loop. For clips, release the clip and lift away gently. Check the lace for wear after removal and adjust if any fraying appears. If you used a longer charm, re-wrap the lace so nothing sticks out.
Store charms in a dry place away from direct sunlight. A small divided box or zip pouch prevents tangling and keeps small pieces together. Label sets if you have many styles, so you can reproduce looks quickly. Regularly check for loose clasps and replace worn parts to avoid losing pieces on the go.
FAQ
How many shoe charms should I start with for a new pair of sneakers?
Starting with 6-12 pieces gives you options without feeling cluttered. If you prefer a quick style refresh, 8-16 pieces work well for most sneakers, and you can add more as you grow confident with attachments.
What types of shoes work best with charms?
Sneakers and casual lace-ups respond best to clip-on or threaded charms that sit close to the tongue. Boots tolerate longer charms or sturdier clips, while loafers and flats benefit from small, flat-back designs to avoid bulk.
How do I attach charms to laces without damaging them?
Use the attachment method that matches your lace type. Thread charms onto the lace before tying, or clip them to the edge of an eyelet. Always test for comfort first and avoid forcing a clip on overly thin laces.
How do I clean and maintain charms to prevent tarnish?
Wipe charms with a damp cloth after use and dry completely. For metal pieces, use a light polish occasionally and avoid harsh cleaners that can wear coatings. Inspect fasteners monthly for wear.
What should I know before buying DIY vs store-bought charms?
DIY charms allow for tailored designs but take time; store-bought options are ready to wear and typically cost less upfront. Plan for 8-24 pieces per set, and consider your budget and patience for assembly.
Start with a small starter set of 8-12 charms in a mix of clip-on and thread-through styles. Pair them with two to three compact laces and test fit on one pair of sneakers first. From there, you can branch into bold seasonal sets or a full retail collection as you get comfortable with the attachments and care routine.

- How Do You Use Shoe Charms? Attach, Swap & Care In Minutes - June 24, 2026
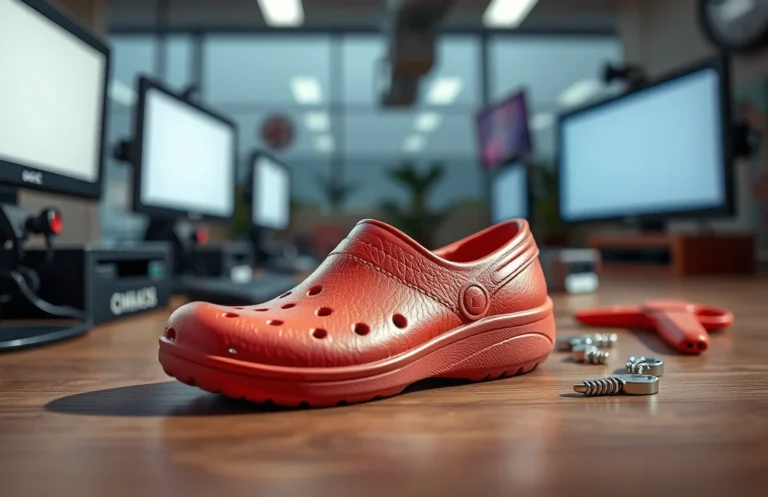
- How To Remove Shoe Charms From Crocs? - June 24, 2026
- How Do Crocs Customizable Jibbitz Charms Enhance The Shoes? - June 24, 2026