How To Make Shoe Charms? 7 Steps To Design, Attach & Finish
Making shoe charms adds a personal touch to sneakers, boots, or sandals. With polymer clay, beads, and secure findings, you can create several unique designs in just one afternoon. This guide outlines how to select materials, sketch patterns, shape clay, and attach charms, ensuring durability and ease of use.
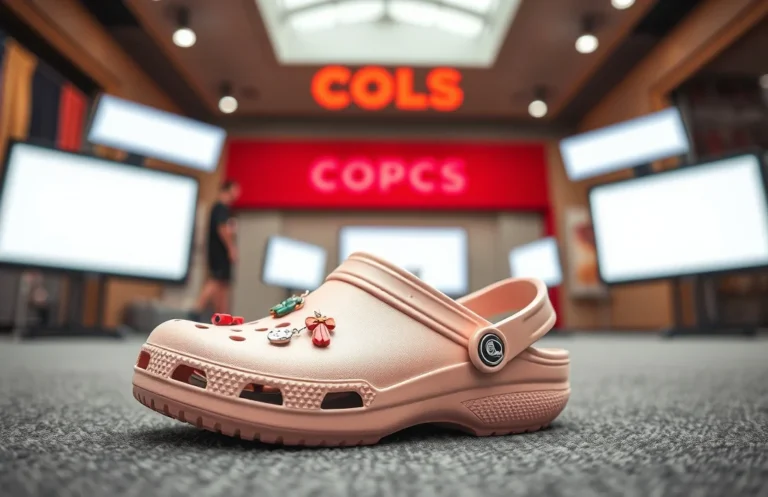
Shoe charms are customizable decorations made from polymer clay or beads that attach to shoes with clips, eyelets, or rivets. Start with a few coordinating colors, aiming for a charm thickness of 1/4 inch, and gather a metal jump ring and quick-drying glue for secure findings.
Key Takeaways
- Materials matter. Use polymer clay, beads, and metal findings for durability.
- Keep it thin. Aim for 1/8 to 1/4 inch thickness for even baking and detail preservation.
- Seal for wear. Apply glaze or resin to protect colors and resist moisture.
- Attach with purpose. Jump rings and sturdy clips prevent detaching during wear.
- Plan your color palette. Test combinations on scrap before finalizing shapes.
Selecting Materials for Shoe Charms
Polymer clay is ideal for DIY shoe charms due to its malleability and stable finish after baking. Beads, whether glass or seed, add color and texture without complicating the baking process. Small metal findings like jump rings, eye pins, and rivets provide secure connections that withstand flexing on active footwear. Mix clay shapes with bead strands for layered looks, but keep the overall piece light to avoid bending or cracking.
Begin with a core shape from polymer clay, add color accents with beads, and use a thin wire or pin to attach the piece to laces or soles. Choose findings that complement the shoe’s material: silver or gold tones for metal hardware, neutral beads for versatility. Thickness is key; 1/8 to 1/4 inch is ideal for detailed designs and reliable baking. Test a dry fit on an old pair of shoes to confirm scale and attachment points before baking.
Materials list (starter kit)
- Polymer clay (Sculpey or Fimo) in 2-4 colors
- Beads (glass or seed) for accents
- Jump rings (4-6 mm) and small eye pins
- Clear-drying glue or epoxy for secure links
- UV glaze or clear sealant for wear resistance
A hard, non-toxic glaze provides a durable finish. Use a cutting blade and a rolling tool to maintain clean shapes. A baking surface like a scratch tile or ceramic plate is essential, along with fine sandpaper for smoothing edges post-bake. If a test piece wears well on scrap fabric, you’re ready for a full project.
Designing Your Charm from Sketch to Pattern
Start designing a charm with a clear concept and finish with a reusable pattern for multiple pieces. A strong motif translates well across different color schemes and can scale from a single charm to a matching set. Identify the desired vibe – playful, minimalist, or bold – and sketch it out.
For instance, a constellation motif can combine small dot beads with a clay star shape. This idea becomes a pattern applied to thicker clay, with holes set for stringing, and tested on scrap material. Once proven, create a reusable template by tracing the shape onto template plastic or stiff paper, allowing for consistent sizing across designs. The more you sketch initially, the smoother the shaping and baking will be.
Steps to design and pattern
1) Sketch your idea on paper, ensuring clean lines and clear attachment holes.
2) Choose a color palette that matches the intended shoe style.
3) Create a paper or clay prototype to test size and balance.
4) Transfer the final pattern to your clay sheet using a light graphite pencil.
5) Mark holes for stringing or attaching hardware.
6) Cut the clay shapes with a sharp blade, keeping edges smooth.
7) Test fit the pieces on a shoe to verify scale before baking.
Adjusting the pattern after a dry run saves misfires during baking. Double-check hole placements to ensure the charm sits flat and aligned when worn. A good pattern supports consistent results across multiple charms.
Tools, Adhesives, and Finishes for Shoe Charms
A compact toolkit speeds up the project. You’ll need basic hand tools and some specialty items, along with finishes that protect colors and surfaces. Essential tools include a sharp blade, small rolling pin, needle tool for holes, and a baking surface for curing. For adhesives, consider flexible jewelry glue, two-part epoxy, and UV-curing resin to match different materials.
The table below compares common adhesives for shoe charms, focusing on practical traits.
| Adhesive | Typical use note | Water resistance | Best for |
|---|---|---|---|
| E6000 | Durable and flexible when cured | Good | Beads and metal components |
| Quick-dry craft glue | Fast initial hold | Variable | Lightweight pieces |
| Epoxy (two-part) | Very strong bond | Generally water resistant | Heavy pieces, glass beads |
| UV resin | Cures in minutes under UV | Very durable when cured | Small decorative pieces |
| Hot glue | Immediate set | Not water resistant | Temporary attachments, quick tests |
Finish options include clear glaze or UV resin for a hard surface. A matte glaze can soften reflections on beads, while a gloss sealant enhances color contrast on clay. Smooth edges with fine sandpaper post-baking to prevent snagging. Test finishes on scrap pieces to compare before applying to the final charms.
Shaping and Curing Polymer Clay Charms
Condition the clay until pliable, then flatten it to a uniform thickness for consistent baking. Rolling to 1/8 to 1/4 inch captures detail without overheating or warping. Punch holes early to avoid distortion, and bevel edges for a clean finish.
Bake according to the clay brand’s guidance, then cool fully before handling. Lightly sand and polish edges to prevent snags while attaching to shoes. Seal with glaze or UV resin, letting it cure completely before adding hardware. Testing a couple of pieces on scrap material first helps dial in your technique.
Shaping and curing steps
1) Condition clay until pliable, then roll to 1/8-1/4 inch thickness.
2) Cut shapes with a sharp blade for clean edges.
3) Poke holes for stringing or hardware.
4) Bake per manufacturer instructions, then cool completely.
5) Lightly sand edges for smoothness and apply a protective glaze or resin.
6) Inspect for finish consistency before attaching hardware once fully cured.
A simple test run with a small piece verifies ease of hole placement and finish adherence. If glaze pools in recessed areas, apply a thin coat and cure in a dust-free environment. The right finish resists moisture, scuffs, and color wear.
Attaching Charms to Shoes With Secure Methods
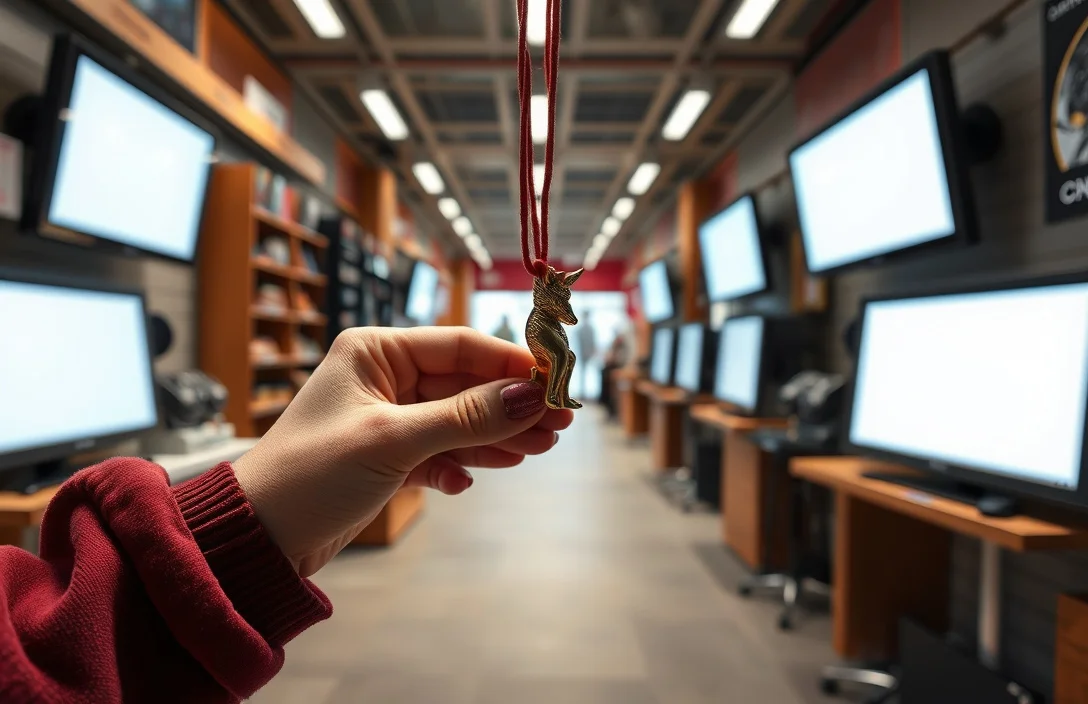
Secure attachment ensures a charm lasts a season instead of detaching after a few wears. Clip-on backs work well for shared shoes or frequently swapped pairs. For laces, use small jump rings or eye pins anchored with a bead to prevent movement from pulling the charm loose. If gluing, select a flexible, water-resistant adhesive and allow a full cure before use.
Attachment steps
1) Choose your attachment method: clip, rivet, or glue with a secure loop.
2) For clips, open and attach them to a spot that won’t bend during movement.
3) For drilled holes, mark the spot, drill or push a starter hole, and install a small rivet or wire wrap.
4) For gluing, apply a tiny amount to the loop, press the charm to the shoe, then cure fully.
5) Check for movement; add backing or extra hardware if needed.
6) Verify fit on the shoe for comfort and secure placement.
Test wear on a backup pair to confirm the charm stays put during walking and flexing. For leather or suede shoes, avoid aggressive glues that may degrade the material; instead, use non-reactive adhesives and clamp until cured. A secure combination of hardware and glue provides the strongest long-term result.
Personalizing Charms with Colors, Beads, and Initials
Color choice influences how a charm complements an outfit. Pair contrasting or complementary colors for visibility, and add decorative beads for texture. Initials or letters offer a personal touch that enhances the charm’s uniqueness. Select fonts that remain legible at a small scale and space letters to avoid crowding.
Test color combinations on scrap pieces before final shaping. For initials, use small letter beads or carved clay pieces with defined edges. Layering bead strands creates a dynamic look without sacrificing durability. The right mix of color, texture, and lettering transforms a simple charm into a stylish accessory.
Personalizing ideas and tips
- Color palettes: Three-color schemes offer balance; add metallic accents for shine.
- Bead textures: Mix smooth glass beads with tiny seed beads for depth.
- Initials: Choose a bold, legible font with consistent letter spacing.
- Layout: Arrange beads around the clay piece before final assembly to prevent crowding.
- Finishes: Seal lightly to preserve bead reflections and color fidelity.
FAQ
What is the best material to start with for shoe charms?
Polymer clay is the best choice due to its ease of shaping, home baking capabilities, and color retention. Condition the clay, roll it uniformly, punch holes for attachment, and bake according to instructions. Seal for durability with glaze or resin.
How long does it take to complete a simple pair of charms?
Expect to spend one to two hours on a simple pair from concept to finish, provided all supplies are ready. This includes sketching, shaping, baking, cooling, and sealing. Testing designs on scrap materials can expedite the process.
What is the safest way to attach charms to shoes?
Use clip-on backs or small rivets for a secure attachment, especially on leather or fabric shoes. If gluing, choose a flexible, water-resistant adhesive and allow for complete curing. Always test attachment on a discreet area first to prevent damage.
What is a common mistake to avoid when making shoe charms?
Avoid making charms too thick for shoes; 1/8 to 1/4 inch is safe. Thick pieces are prone to cracking and discomfort. Always punch attachment holes before baking to prevent warping and snagging.
Are there alternatives to polymer clay for shoe charms?
Yes. Beaded charms, metal pieces with loops, or resin can create different looks. Each option has trade-offs: clay is moldable but fragile pre-bake, beads are durable but heavier, and resin offers a high-shine finish but requires proper curing and ventilation.
Closing Verdict
To create durable, customizable shoe charms, start with a polymer clay kit, test designs on scrap, and perfect your attachment method. A simple, reliable approach involves a clay charm with a small jump ring and clip-on back, finished with a clear sealant for daily wear. Draft two designs, gather your materials, and conduct a quick test bake on scrap to confirm fit and finish.

- How Do You Use Shoe Charms? Attach, Swap & Care In Minutes - June 24, 2026
- How To Remove Shoe Charms From Crocs? - June 24, 2026
- How Do Crocs Customizable Jibbitz Charms Enhance The Shoes? - June 24, 2026