How To Put Shoe Charms On Tennis Shoes?
You can transform plain tennis shoes into custom kicks in under 15 minutes with the right charms and a simple knot system. Start with flat or round laces, a handful of charms with passable holes, and a plan for where each charm sits. This guide details how to attach charms securely and keep them in place during daily wear.
Shoe charms on tennis shoes remain secure when you use flat-lace compatibility, proper attachment, and a finishing knot. Start with flat-lace shoes or round-lace equivalents, feed charms through the lace gaps, and finish with a tight double knot or stopper knot to prevent slipping.
Key Takeaways
- Know your lace type. Flat and round laces require different attachment techniques.
- Choose compatible charms. Look for holes that allow the lace to pass cleanly and keep the charm flush against the tongue.
- Plan a pattern. A simple symmetric layout is easier to tighten and adjust.
- Double-knot everything. A second knot behind the charm prevents wobble and loosening.
- Test with movement. Bend, twist, and walk near home to confirm security before longer wear.
- Keep replacements handy. Have a spare charm or two in case a bead or ring wears.
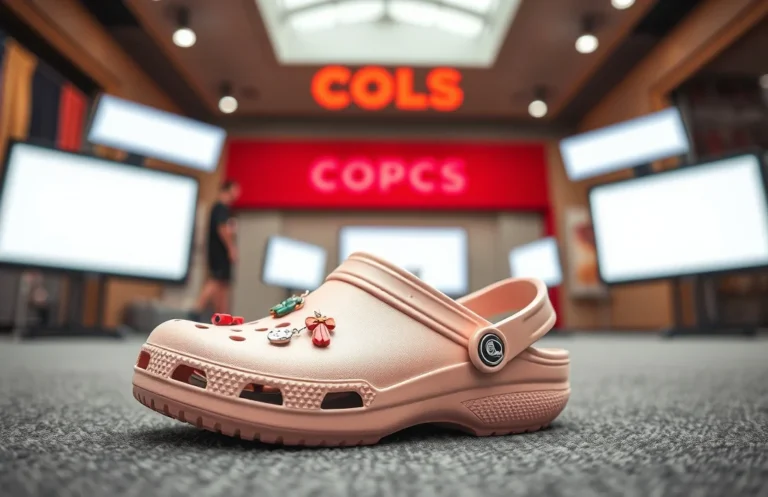
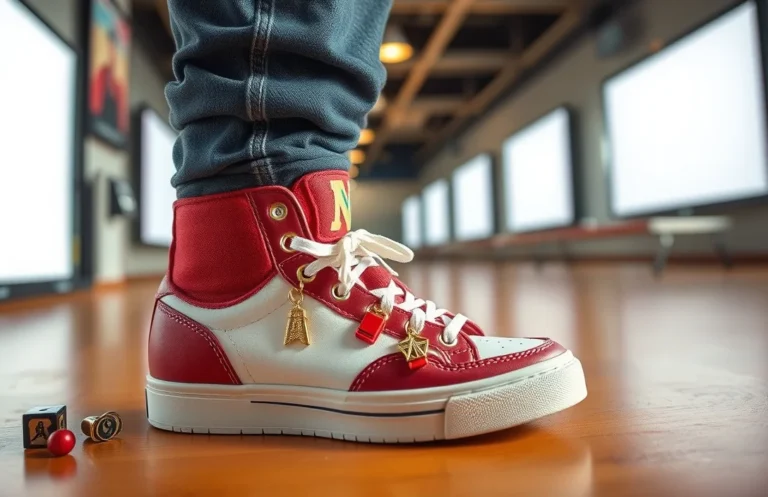
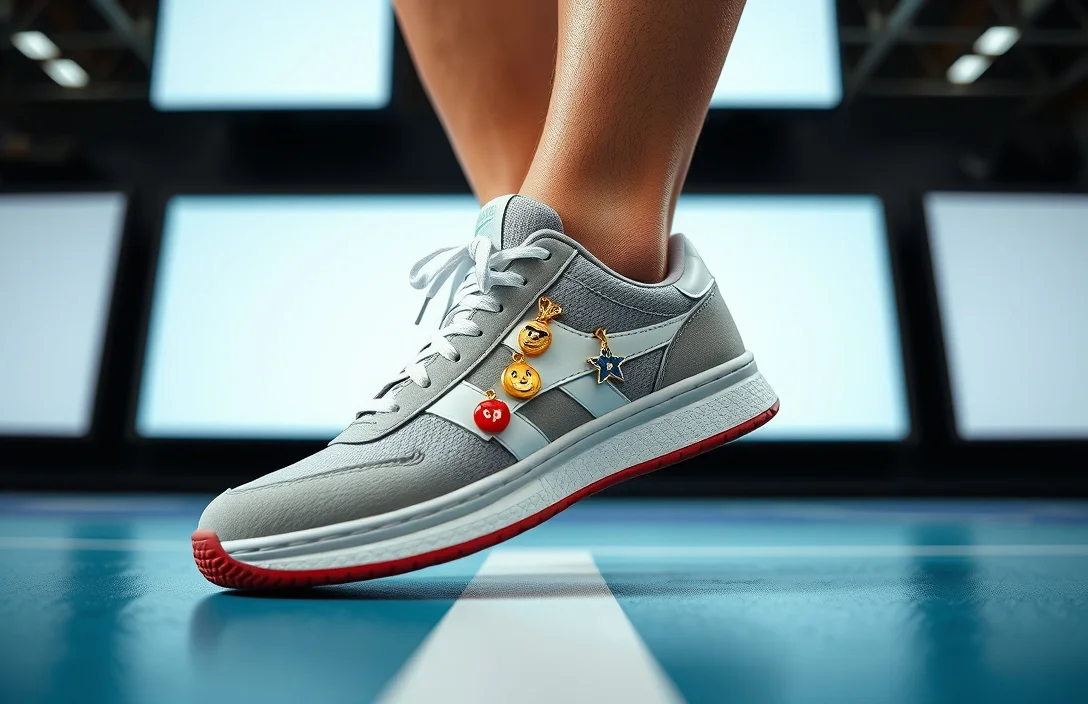
Charm Types That Work on Tennis Shoes
Charms that fit through lace holes and sit flat on the tongue are the most reliable for tennis shoes. If a charm protrudes or blocks the lace path, it can catch on socks or tighten unevenly. Bead charms with through-holes and small, flat pendants that lay flush against the shoe tend to stay put longer. Clip-on charms can add bulk and may slip off if laces are slick. Prioritize designs with clear through-holes or secure looping points.
- Bead charms with through-holes. These are versatile, color-customizable, and easy to swap. They stay put when aligned with the lace path, offering a neat, low-profile look. Ensure holes aren’t too large; otherwise, the charm can slide along the lace if not anchored by a knot.
- Lace-end charms and charms with loops. These sit near the tip of the lace and can be swapped easily. They maintain a lower profile than bulky clips and are less likely to catch on socks, but require careful threading to prevent slipping.
- Clip-on charms with small grips. Quick to attach or remove, but they risk loosening during movement. Use these only if the clip grip is strong and designed for fabric lacing.
- Charms with split rings or loops. A small metal or plastic ring can anchor the charm more securely, but larger holes and careful threading are necessary to distribute tension evenly across the lace.
Attachment Methods for Flat and Round Laces
Flat laces and round laces behave differently during charm attachment. Flat laces tolerate charms threaded through the weave and sit flush when the knot behind the charm is tight. Round laces can be more challenging because they roll and may slip if the charm relies on friction alone.
For flat laces, feed the charm through a lace hole before finishing the knot, and tie a lock or double knot behind the charm. Ensure the lace path remains uninterrupted so the tongue can sit flat. For extra security, use a small stopper knot behind the charm to prevent backward movement.
For round laces, pass the lace end through the charm’s hole and then pull the lace tail to seat the charm close to the tongue. If the charm’s hole is small, loop the lace once through and tie a tight overhand knot behind the charm. This reduces movement and helps prevent the charm from sliding along the lace.
Attachment Tip by Lace Type
- Flat Laces: Thread the charm through a pre-tier, then tie a double knot behind the charm; add a stopper knot if the ends are long.
- Round Laces: Thread through the charm and secure with a tight overhand knot behind the charm; avoid loose ends that can flip.
Lace Techniques to Keep Charms Secure
Double knots and friction are essential here. A single knot can loosen with movement; a double knot behind the charm maintains stability. Tuck the laces neatly after the charm to reduce snag risk and prevent the laces from pulling on the knot. Use a small backing knot on each lace end whenever possible to hold the charm in place.
For example, after threading the charm, tie a double knot, then an additional mini knot behind the ends to lock tension. Another trick is to loop the lace ends around the tongue side once before finishing the knot, creating extra friction and reducing slipping during dynamic workouts.
Techniques to try:
- Double knot behind charm. A second overhand knot tightens the lock.
- Stopper knotted tails. Tie a small knot at the end of each lace tail to prevent slipping.
- Tuck and twist. Tuck the tail under the loop so it cannot move across the tongue.
- Layered anchoring. If possible, anchor at two lacing points near the charm to share tension.
Choosing Charms to Match Your Sneakers
Consider weight and color balance. Heavier charms pull more on the lace, increasing the chance of movement or fraying; opt for lighter charms for running or gym wear. Match the overall sneaker tone so the charms look integrated rather than tacked on. Start small with two or three charms and adjust as needed.
Consider the sneaker style. Neutral sneakers pair well with metallic or pastel charms for a subtle pop, while bright sneakers can handle bolder shapes and colors without looking crowded. Small charms suit low-cut sneakers; longer laces and higher eyelets can accommodate longer charm strands or clips.
Choosing tips:
- Weight matters. Lighter charms stay secure longer during movement.
- Color balance. Align charm hues with the sneaker color accent.
- Pattern simplicity. A simple symmetric pattern reduces misalignment during wear.
- Attachment compatibility. Ensure the charm design can pass through or anchor to the lace path cleanly.
Step by Step Charms Application on Tennis Shoes
Plan before you thread. Decide how many charms you want and where each will sit on the lace path. Fully untie the laces and lay them flat against the tongue for a clear threading path. Having a plan prevents re-threads and keeps the process quick.
1) Choose your charms and pattern.
2) Remove the laces from the eyelets and lay them flat.
3) Thread the charm through the lace path at the intended position.
4) Seat the charm flush against the tongue.
5) Tie a double knot behind the charm or use a stopper knot on the lace tail.
6) Return the laces to the eyelets and adjust tension.
7) Test by walking and bending to ensure no movement or snagging.
8) Swap charms or re-tie if any looseness appears.
9) Trim tail ends if needed and tuck any excess under the tongue.
10) Do a final test in normal wear before leaving the house.
The most reliable pattern is a symmetric sequence: charms placed at equal intervals along the laces with knots behind each charm. Keep the center of the shoe simple and add accents to the outer areas. A few minutes of planning saves time on re-threading.
How to Remove Charms Without Damaging Laces
Gently loosen the knot before pulling the charm free. Avoid yanking the charm; a quick tug can fray lace threads or widen the holes. Start at the end where the charm is anchored and work toward the tip, keeping tension even to prevent snagging.
Steps:
- Loosen the knot behind each charm, removing any knots with patient, gentle tugging.
- Remove charms one at a time, ensuring the lace path remains intact.
- Inspect lace holes for wear; if fraying occurs, replace the lace or crimp a protective ferrule.
- If a charm resists removal, loosen all laces to give it space, then re-thread with a less aggressive path.
When removing, avoid pulling from the eyelets directly; back the charm toward the lace end to reduce friction. To re-use laces, consider using a bead to preserve the hole edges and minimize wear on the lace fibers.
Preventing Charms from Slipping During Wear
Two anchoring methods plus appropriate lace choice reduce slippage. Always pair a secure knot with a second lock behind the charm. Choose charms that loop or thread cleanly so they sit flat against the tongue without lifting. Ensure laces are not too slick; resin-coated round laces can slip more than cotton or canvas.
Additional tips:
- Use flat laces for a flatter profile and predictable friction.
- Limit charm weight; bulky pieces exert more force across the lace path.
- Check the knot and charm position after a short walk; reposition if the charm tilts or pulls.
- Store a spare charm and a loose spare lace for quick swaps if something wears out.
FAQ
How much do shoe charms for tennis shoes cost?
They typically range from $3 to $15 per charm, depending on material and design. Bulk sets with 6-12 charms often land around $15-$40, making updates affordable. Prices vary by brand and finish, so shop around for deals on multi-pack sets.
Will charms stay attached during running or gym workouts?
Yes, if you use flat-lace designs or secure looping through the charm’s hole with a double knot behind the charm. Movement increases tension on the knot, so test with a short jog first and tighten as needed. Double knots plus flush charm positioning are the practical rule.
How do I attach charms to round laces?
Thread the charm through the lace path and anchor with a tight overhand knot behind the charm. If possible, loop the lace around the charm’s hole to add friction. Round laces require tighter knots to prevent slipping.
What if a charm is too heavy or causes lace fraying?
Switch to lighter charms or reinforce with a second anchor knot behind the charm. If fraying occurs, replace the lace or add a tiny protective ferrule to the lace tip. Weight management is key for longevity.
Are there quick alternatives if I can’t thread laces?
Yes. Use clip-on charms designed for fabric laces, or swap to charms with loops that can anchor to lace ends. For a no-threads option, consider shoe clips that sit on top of the tongue, though they’re more conspicuous. Alternatives exist, but they may sacrifice low-profile aesthetics.

- How Do You Use Shoe Charms? Attach, Swap & Care In Minutes - June 24, 2026
- How To Remove Shoe Charms From Crocs? - June 24, 2026
- How Do Crocs Customizable Jibbitz Charms Enhance The Shoes? - June 24, 2026