How To Clip Jimmy Choo Shoe Charm?
If you own a Jimmy Choo shoe charm, securing it without damaging your footwear is key. This guide outlines how to attach it cleanly, what parts it can clip to, and how to select the right clip for various shoe styles. You’ll find practical steps, common pitfalls, and solutions to keep the charm in place throughout the day.
A suitable clip grips without scratching, fits a small fastener on the shoe, and allows for easy removal if you decide to swap charms. Start by selecting an attachment point that won’t damage the shoe’s finish, testing the grip, and choosing a clip designed for delicate footwear. With this approach, the charm stays secure during walking, turning, and light exercise.
Key Takeaways
- Check compatibility. Ensure the charm clip fits the shoe’s loops or straps before attaching.
- Protect surfaces. Use a soft cloth or tape to prevent scratches during clipping.
- Test grip. Tug gently after clipping to confirm the charm stays in place.
- Choose reversible clips. Select clips that open and close easily for damage-free removal.
- Mind thickness. Clips work best on 1-3 mm leather or fabric; thicker materials may not close properly.
- Label and track. If you have multiple charms, keep a small tag to prevent mix-ups.
What Parts of the Shoe Can the Charm Clip To?
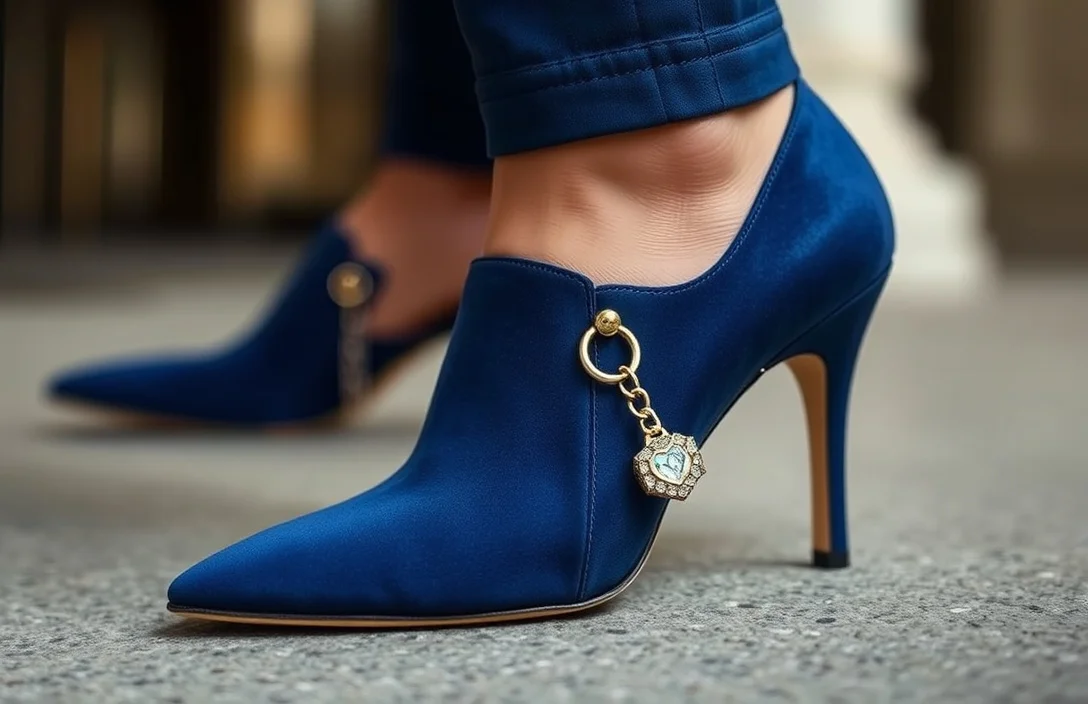
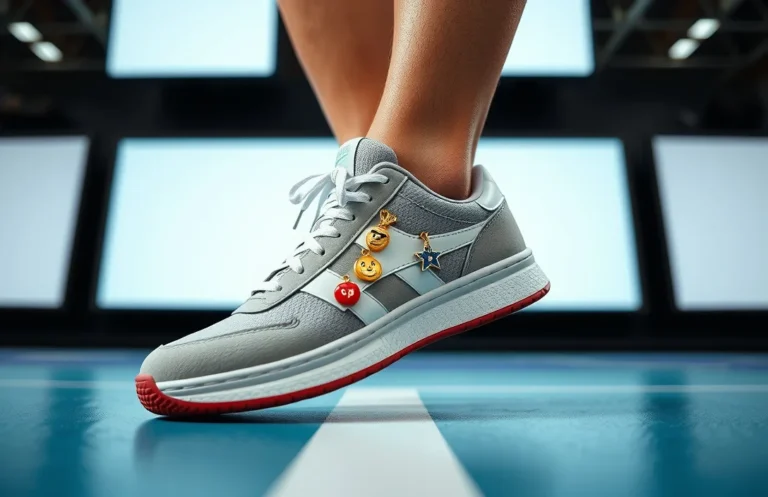
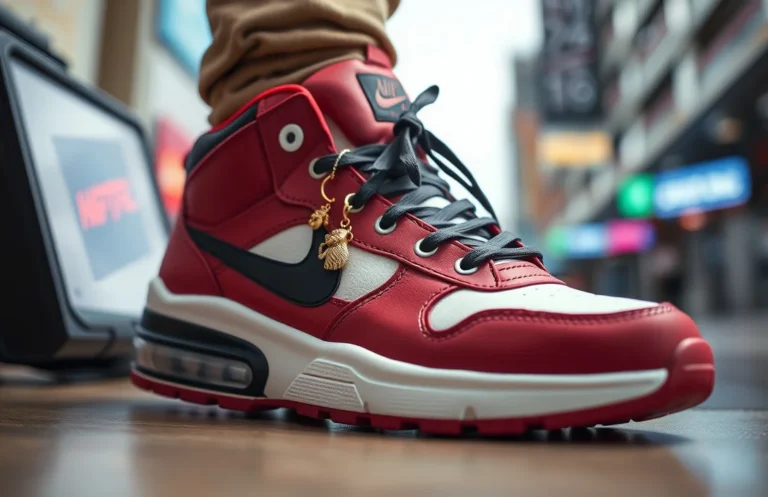
The charm attaches to any part of the shoe that can accept a small fastener without compromising the finish. Look for thin loops, buckle frames, metal eyelets, or small D-rings. Some styles come with built-in loops or rings that a clip can latch onto. For smooth leather or patent finishes, choose clips with soft edges to avoid scuff marks.
Common attachment points across Jimmy Choo styles include:
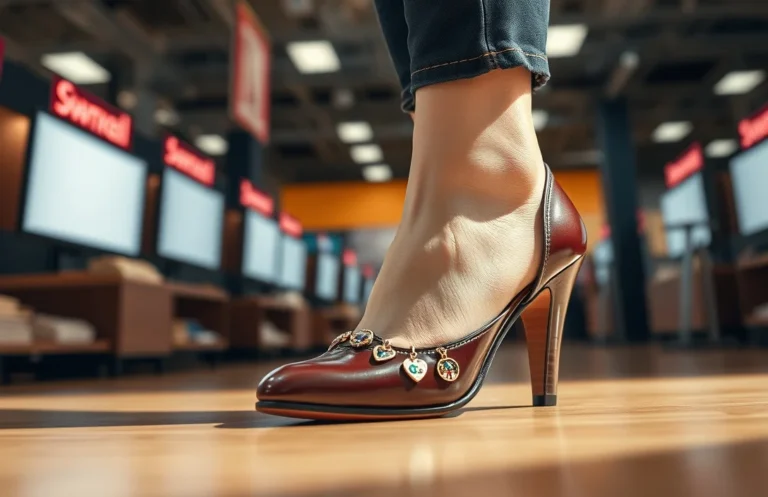
- Straps or open loops on sandals and slingbacks.
- Decorative or functional eyelets near the vamp or ankle strap.
- Buckle frames with a flat edge wide enough for a light clip.
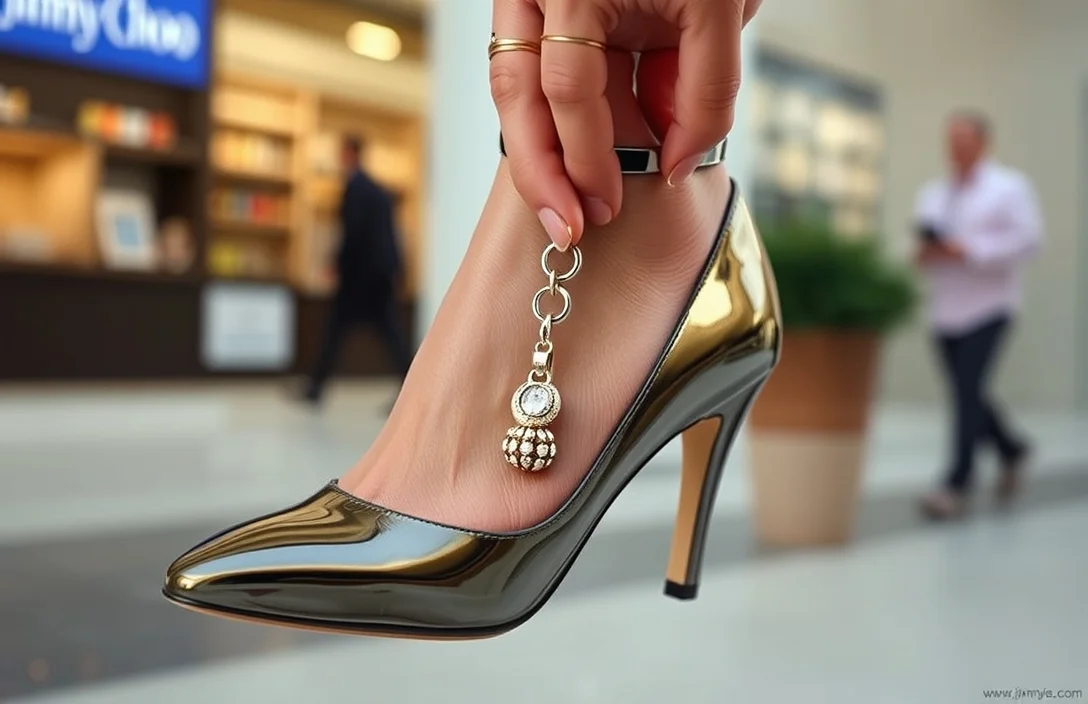
For non-strap heels, a small loop under the heel counter can accommodate a clip without visible bulk. If the shoe lacks a suitable point, don’t force a clip, as the risk of damage increases.
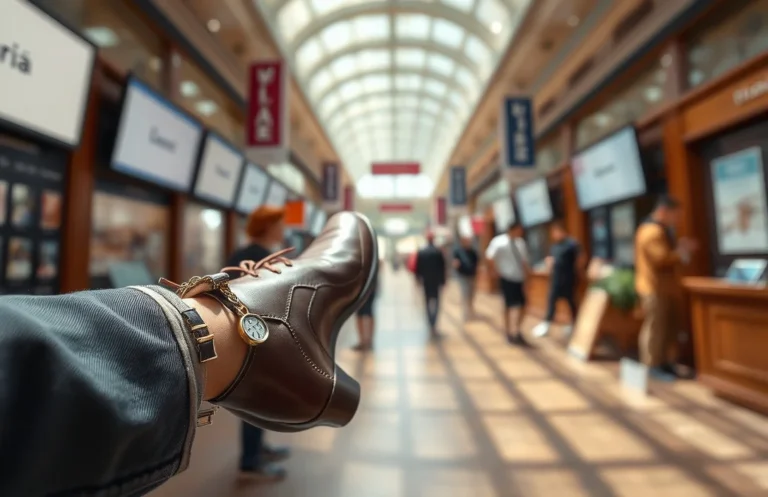
For instance, a slim lobster-clasp clip can attach to a delicate strap loop on a sandal, while a tiny jump ring works with a discreet eyelet. On leather loafers featuring a metal accent, use a clip that rests against the strap’s edge without pressing into the leather. The goal is to secure the charm without compressing the leather or leaving impressions.
Avoid clipping to soft suede surfaces or areas that flex frequently, as suede can scuff easily and tight clips can create crease lines. If you must clip near a seam, use a thin protective layer, like a micro-fabric patch, to minimize abrasion. The best clips and spots are those that remain stable while you walk and don’t obscure the shoe’s style.
Essential Tools for Clipping a Shoe Charm
Having a small jewelry toolkit on hand helps ensure a clean attachment. Fine-nose pliers, diagonal cutters, and a couple of precision screwdrivers cover most charm attachment methods. If you frequently switch charms, keep a compact set in your pocket or bag to avoid improvising with rough tools.
A soft microfiber cloth, a non-slip mat, and optional leather conditioner are handy for cleaning and protecting the shoe surface. Tiny jump rings or split rings can convert the charm’s attachment to a compatible loop. If the charm uses a screw-in post, a tiny hex or Phillips driver keeps the installation neat.
Recommended tools in a compact kit:
- Fine-nose pliers and needle-nose pliers
- Small jump rings or split rings (2-3 mm inner diameter is usually sufficient)
- Clip-on clasps or lobster clasps designed for shoes
- Tiny screwdrivers for any screw-in hardware
- Soft cloth and optional leather-safe protector tape
You don’t need a full jewelry bench – just a small travel kit with these items is adequate for most clips. Precise control is key; a deliberate approach prevents damage and makes future swaps easy.
Preparing Shoes and Charm for Clipping
Preparation is crucial. Inspect the shoe’s surface and the clip’s contact points for any existing damage that could worsen. Clean the potential clipping area with a damp cloth and a gentle cleaner, then dry it completely for a flush fit.
Measure the clip’s opening against the shoe’s loop or eyelet. If the area exceeds 3 mm, you may need a larger clip or a different attachment point. Pad the surface with a thin layer of micro-tape or a soft patch to reduce the risk of scratches. Finally, test the chosen spot by pressing lightly to ensure the clip won’t slip or deform the shoe while walking.
For example, when clipping to a strap loop on a sandal, remove the charm from its packaging and align the clip with the loop edge. If the loop edge is rounded, switch to a clip with a gentler grip. This pre-check minimizes the risk of slipping or leaving a mark after a day out.
Checklist:
- Inspect the shoe surface for scuffs and fragile finishes.
- Clean the clipping spot and dry completely.
- Check loop or eyelet thickness (ideally 1-3 mm).
- Pad with micro-tape or a soft patch if necessary.
- Conduct a dry-run test to ensure the clip sits flush.
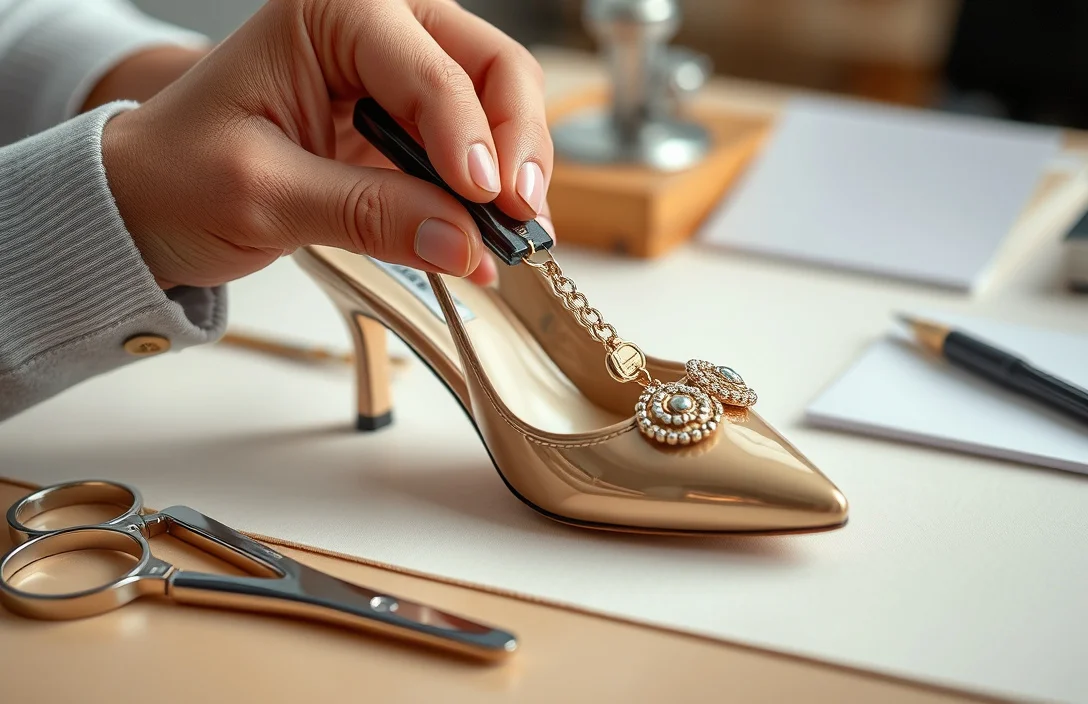
Step-by-Step Charm Attachment
Follow these practical steps for attaching the charm securely:
- Identify a clip-friendly spot on the shoe, such as a strap loop or an eyelet.
- Choose a clip type that matches the spot’s size and edge; prefer soft-edged clips for leather.
- Open the clip carefully using your pliers or fingers, avoiding excessive force.
- Attach the clip to the chosen spot with a light grip, ensuring it seats evenly.
- Close the clip fully and test its hold with a gentle tug to confirm it won’t loosen.
- If the clip slips, adjust the grip or switch to a different clip type, then re-test.
- Protect the shoe surface with a micro-tape patch if you detect any pressure marks.
- Re-check after walking a short distance; readjust if necessary.
For practice, start with a lightweight charm on a sandal’s thin strap loop. After attachment, walk a few steps and gently twist your foot to see how the clip behaves. If there’s movement, switch to a clip with a broader grip or relocate to a sturdier loop. The aim is a secure yet reversible attachment that leaves no visible wear.
Use a clip that sits flush against the shoe’s edge, avoiding any clip that projects out and rubs against socks or tights. If you must force a clip past a tight edge, stop, reassess, and select a different point or clip type. The best results arise from careful attachment, not hasty fixes.
Clip-On vs. Hardware Options
Clip-on options are quick and reversible, ideal for those who swap charms or prefer not to modify their shoes. Hardware options provide a more permanent feel and can be more secure, but they risk damaging the leather and may require tools or professional help. Your choice depends on how you wear the shoes, how often you change charms, and your comfort with minor alterations.
Here’s a quick comparison to inform your decision:
- Clip-on lobster clasps: Quick, reversible, light grip; best for straps and loops with a flat edge.
- Jump rings with split rings: Secure when closed, but require pliers to attach; ideal for eyelets and small loops.
- Screw-in hardware: Extra secure, permanent; generally not recommended for delicate leather unless you’re experienced.
- Clip won’t grip securely: Try a clip with a broader or softer edge, or switch to a jump ring that tightens around the loop.
- Charm catches on clothing: Move the attachment point to a lower loop or edge that lies flat against the shoe.
- Clip leaves marks on leather: Use a protective patch and ensure at least 1 mm of clearance between the clip and the surface.
- Clip opens during wear: Switch to a clip with a stronger latch or add a second clip to lock the charm in place.
- Charm feels loose after walking: Re-test after a short walk; if loose, switch to hardware for a more secure hold.
| Adhesive micro clips: No holes; risk of residue or finish damage if misused; suitable for smooth surfaces only. | Clip Type | Pros | Cons | Best For |
|---|---|---|---|---|
| – | – | – | – | |
| Clip-on lobster clasp | Quick and reversible | May slip on thick straps | Thin straps or loops | |
| Jump ring with split ring | Very secure when closed | Requires pliers | Shoes with small rings or eyelets | |
| Screw-in hardware | Extra secure for sturdy leather | Requires modification | High-end leather or hard surfaces | |
| Adhesive micro clip | No holes or tools | Risk of finish damage; cleanup | Smooth patent or coated surfaces |
In most daily scenarios, clip-on options offer the best balance between security and reversibility. When adjusting a formal pair or one with delicate leather, choose clips that don’t pinch or press into the surface. The simpler your setup, the less you risk damaging the finish.
Troubleshooting Charm Attachment Issues
Most attachment issues can be resolved with a minor adjustment. If the charm slips, switch to a clip with a tighter grip or move the attachment point to a more secure loop. If scuffing occurs after a day out, add a micro-tape patch to the contact area or use a clip with a softer edge.
Common issues and solutions:
For optimal long-term results, practice clipping in a less visible spot first, then transition to the primary location. Always test your setup by walking slowly and twisting slightly before wearing it for an entire day. If you continue to struggle, try a different attachment point or clip type instead of forcing a fit.
FAQ
Can I clip a Jimmy Choo shoe charm on any shoe?
Not every shoe will accept clip-on hardware. Look for a strap loop, metal eyelet, or buckle frame that a small clip can grip. If none exist, avoid forcing a clip, as that can damage the finish. Choose a clip type that matches the shoe’s features for a risk-free attachment.
What clip types work best with Jimmy Choo shoes?
Lobster clasps and small jump rings are suitable for most straps and loops, while screw-in hardware offers extra security for sturdy leather. Start with clip-on options for reversibility, then consider hardware if you need more security.
Will clipping damage the shoe?
Damage is unlikely with careful selection of clip and attachment point. Use a soft-edged clip, pad the contact area, and avoid forcing clips into tight spots. Always test grip and finish protection before extended wear.
How long does it take to clip a charm?
Approximately 2-7 minutes, depending on clip type and shoe design. With practice, you can clip and test in under 3 minutes. Speed comes from selecting the right spot and clip upfront.
Is there an alternative to clipping?
Yes. You can attach charms to shoelaces or use non-clip decorative elements that don’t contact the shoe’s surface. Alternatives reduce the risk of finish damage while keeping the look intact.

- How Do You Use Shoe Charms? Attach, Swap & Care In Minutes - June 24, 2026
- How To Remove Shoe Charms From Crocs? - June 24, 2026
- How Do Crocs Customizable Jibbitz Charms Enhance The Shoes? - June 24, 2026