How To Put Shoe Charms On Sneakers?
Want to know how to put shoe charms on sneakers? You can do it in under 20 minutes using just a few tools. Choose lightweight charms, plan their placement on the laces, and secure them with durable clasps. The right combination creates a custom look that remains intact during workouts and daily wear.
Use 4-6 charms anchored to the laces with clips or lace loops, securing them with small knots or end caps. Space them evenly, ensure proper fit and flex, and adjust tension so nothing snags during wear.
Key Takeaways
- Start light. Space charms 2-3 cm apart on the lace for a balanced look and reduced snag risk.
- Choose secure closures. Use clips or anchor loops that stay put during activity and resist tugging.
- Test movement. Flex the shoe to confirm charms don’t twist or snag.
- Match lace type. Select charms designed for flat or round laces to prevent slipping.
- Check daily. Inspect for loose clasps and replace worn pieces before wearing.
Choosing Charms for Sneakers
Charms should enhance your sneakers without hindering movement, so weight and attachment style are crucial. Lightweight plastic or enamel charms feel least obtrusive, while metal options are more durable when secured with a sturdy clasp. For everyday wear, choose designs that fit neatly along the midsection of the lace and avoid oversized charms that can catch on furniture or bike brakes. If you prefer a bold look, balance larger charms with negative space on the opposite side to maintain comfort.
| Charm Type | Material | Best For | Security Level |
|---|---|---|---|
| Clip-on charms | Metal or plastic | Quick swap, easy removal | High |
| Lace-loop charms | Resin, plastic | Lightweight, simple threading | Medium-High |
| End-cap charms | Metal, polymer | No-tie or snug fit | High |
| Bead-style charms | Acrylic | Decorative, low snag risk | Medium |
| Magnetic charms | Steel magnets | Fast changes, casual use | Low-Medium |
Aim for a mix of charm styles that won’t add bulk or snag. If you’re new to charms, start with clip-ons or end-cap designs to see how they feel after a short walk. For performance shoes or frequent walkers, opt for closures that lock securely during movement.
Charms and Clasp Options
The clasp you choose determines how reliably a charm stays attached. Lobster clasps and spring rings are common for clips, allowing for quick removal, but they can loosen with repeated flexing. Lace-anchored loops and small split rings hold tighter over time, especially when threaded through the lace near the eyelets. End caps or bead stops on round laces provide a solid stop, preventing charms from sliding.
For a practical setup, pair a clip-on charm with a light chain of lace material, and use end-cap charms for elastic no-tie laces. The goal is to minimize looseness during movement while keeping charms accessible for easy swapping.
Attaching Charms to Laces
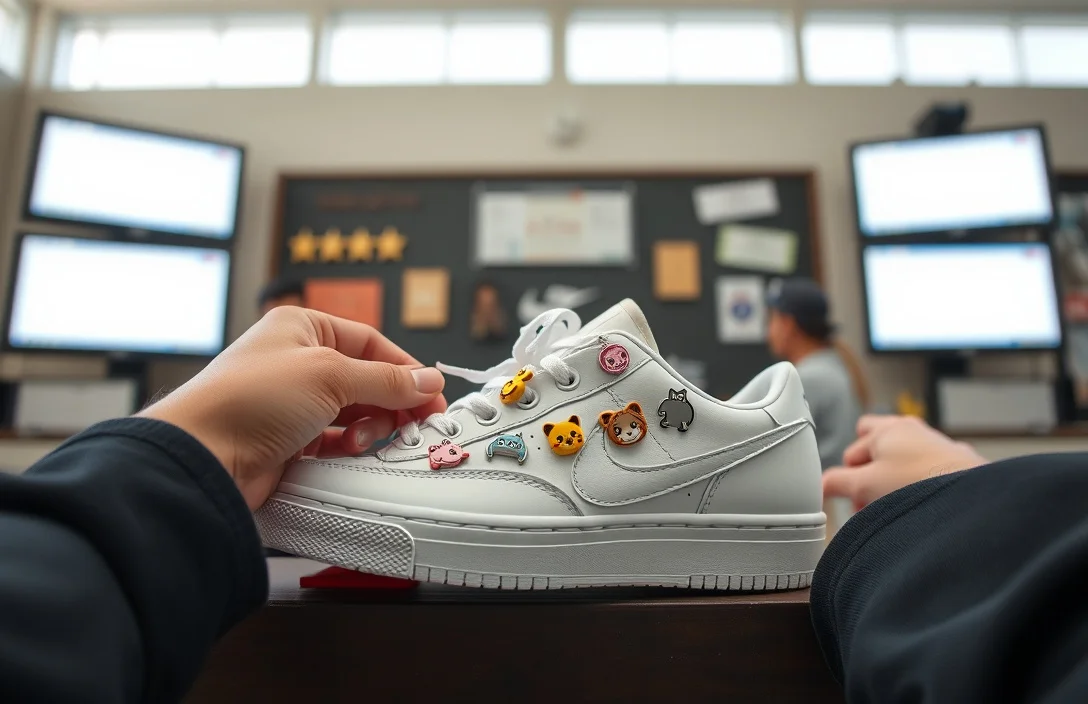
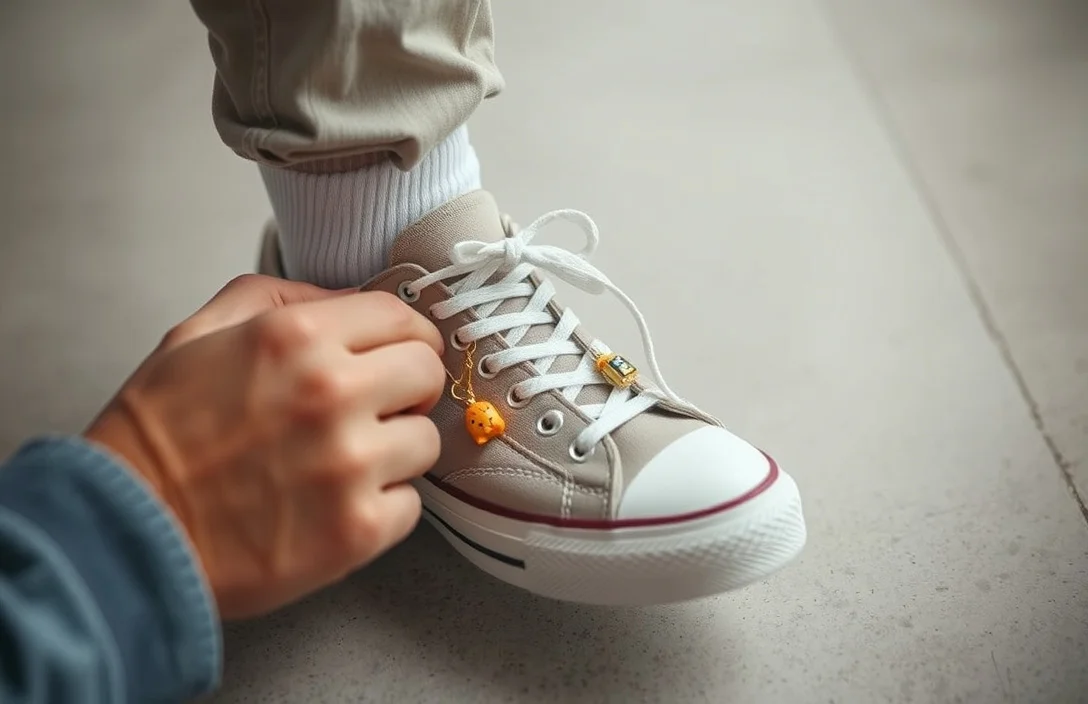
Choose a charm with a compatible anchor first. If the charm uses a clip, open it, slide the lace through, and close it firmly near the knot. For charms with loops or bead stops, thread the lace through the loop before tying. Position charms evenly along the lace to distribute weight.
Step-by-step:
- Prepare the laces: Loosen the tying area for easy threading or clipping.
- Pick anchor points: Place charms toward the midsection of the lace, avoiding the aglet.
- Thread or clip: For loops, thread a section of lace through the charm’s loop before tying.
- Align evenly: Space charms 2-3 cm apart for a balanced appearance.
- Lock the lace: Tie a standard knot or add a tiny overhand knot behind the charm if possible.
- Close all closures: Snap clips or fasten latching parts to prevent them from opening during movement.
- Test the setup: Walk around and flex the laces to ensure nothing catches.
This approach keeps charms secure while you move. A quick test after lacing guarantees peace of mind before you head out.
Adapting Charms for Different Lace Types
Flat cotton or polyester laces distribute charm weight evenly, so clamping actions from end caps or anchor loops work well. Round laces slip through loops more easily unless you add a second anchor behind the charm. Elastic no-tie laces require charm designs that don’t rely on aggressive pulling to stay in place; use end caps or small bead stops to minimize movement.
When pairing charms with lace types, consider lace stiffness. Stiffer laces resist bending, keeping charms attached near the bottom eyelet. Use lighter charms with elastic laces to avoid adding drag that can pull the heel backward when running. Ensure clip-based charms won’t pop open with normal foot flex.
Securing Charms for No-Tie Laces
No-tie or elastic laces complicate charm attachment due to reduced structure. The simplest solution is an end cap on the lace end, creating a sturdy stop. You can also use a small silicone bead or heat-shrink sleeve around the knot to minimize movement. For clip-on charms, select designs with a locking mechanism that doesn’t rely on bending the lace.
For optimal stability, position a charm near the middle of the lace, then install end caps on both ends of the lace segment holding the charm. This two-point anchor reduces wobble and keeps charms aligned. Always test with a few walking steps before committing to all-day wear.
Cleaning and Caring for Charms
Charms can accumulate dirt, sweat, and lotion, particularly on the back side near your ankle. Clean gently with a soft brush and mild soap, then rinse and air dry. Avoid harsh solvents that can damage finishes. For charms with paint or delicate coatings, wipe instead of soaking, and store them in a dry, cool place when not in use.
Regularly inspect charms for loose clasps, bent findings, or cracks. Replace worn pieces before they fail during wear. A quick wipe after outdoor use keeps the finish bright and the hardware secure.
Troubleshooting Loose Charms
Loose charms often result from a slipping clasp, frayed lace, or a loosened knot. Start by tightening the knot behind the charm and re-securing the clasp. If the charm still moves, switch to a different anchor method or add an end cap to the lace end. If the lace threads wear thin, replace that section to restore security.
Common fixes:
- Tighten knots and re-seat charms in their anchor points.
- Add end caps or beads to create a hard stop on the lace.
- Switch to anchor loops or split rings for greater security on active days.
- Shorten excessively long lace segments behind the charm to reduce sway.
- Replace worn laces that undermine charm stability.
FAQ
Will charms damage my sneakers?
Charms won’t damage the material if you avoid sharp edges and heavy metal pieces. Check for friction points where hardware contacts the shoe surface and adjust if you notice wear.
How many charms should I use?
Start with 4-6 charms spaced evenly along the laces. Adjust based on shoe style and comfort; too many can make lacing tight and uncomfortable.
Can I use no-tie laces with charms?
Yes. Use end caps or small bead stops on the lace ends to create anchors, then attach charms to the mid-lace area with secure clips or loops.
How do I remove charms without damaging laces?
Gently detach the clasp or unthread the charm from the loop. If you used an end cap, open it before removing. Avoid forcing hardware through the lace to prevent fraying.
What maintenance do charms need?
Wipe with a soft cloth after wear, clean with mild soap occasionally, and check for loose clasps. Replace worn pieces promptly to maintain performance and appearance.
Closing Verdict
Start simple: use four evenly spaced charms on your sneakers, anchored with end caps or secure clips. Test movement, switch to sturdier anchors if you feel any wobble, and clean them every few wears. With a little setup time, you’ll have a personalized look that stays put through daily activity.

- How Do You Use Shoe Charms? Attach, Swap & Care In Minutes - June 24, 2026
- How To Remove Shoe Charms From Crocs? - June 24, 2026
- How Do Crocs Customizable Jibbitz Charms Enhance The Shoes? - June 24, 2026