How To Add Charms To Shoes? In 7 Easy Steps
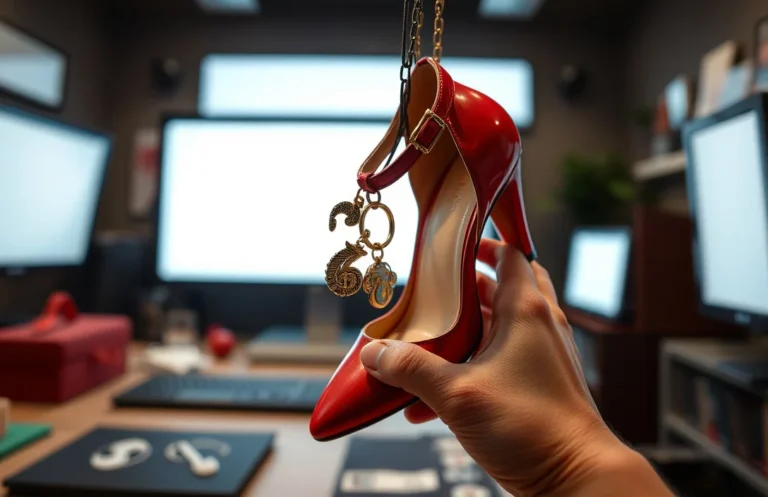
Learning how to add charms to shoes lets you personalize your footwear in under 20 minutes. Start with lightweight charms and a secure method that matches your shoe type. The right combination keeps charms comfortable, resists wear, and avoids damaging laces or leather. For a first run, aim for 3-5 charms and a simple knot or rivet.
Adding charms to shoes is straightforward: pick lightweight pieces, decide whether to thread them onto laces or fasten with small rivets, and test fit. Plan for 15-25 minutes for a starter setup, beginning with 3-5 charms for a clean look.
Key Takeaways
- Start small. Begin with 3-5 lightweight charms to gauge weight and balance.
- Choose lightweight charms. Use charms under 2 g each to prevent altering the shoe’s feel.
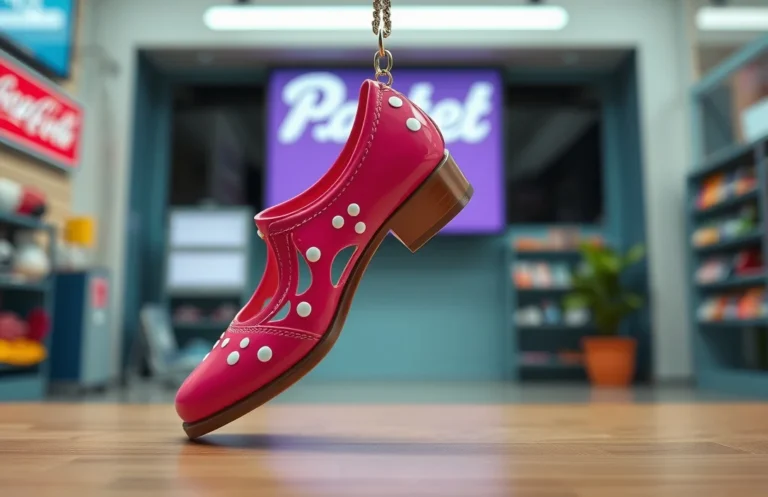
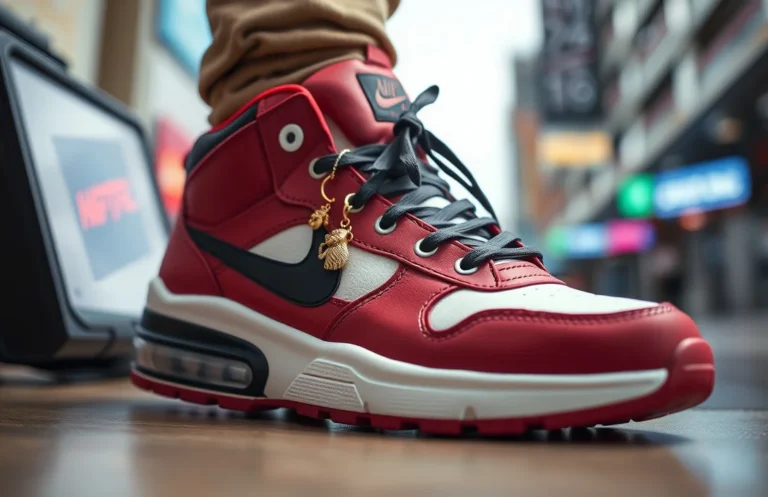
- Match to shoe style. Sneakers tolerate bigger, brighter charms; dress shoes benefit from subtle, flat pieces.
- Secure attachment. Prefer methods that stay tight, like rivets or tight knots, and test with movement.
- Test fit first. Walk in place after attaching to ensure no snagging or imbalance.
Gather Charms and Materials
Collect a mix of charms: lightweight metal, acrylic, and leather tags. The lighter the charm, the less it shifts the shoe’s balance during wear. For daily wear, prioritize charms with smooth edges and durable finishes to reduce snagging.
Lay out your base materials: a spare pair of laces or thin cords, small jump rings (2-3 mm inner diameter), fine needles, needle-nose pliers, scissors, and flexible adhesive if you plan to glue charms. A rivet kit is useful for a permanent look. Keep a backup pair of laces on hand to swap in case a charm adds noticeable weight.
Common charm types to consider:
- Lightweight metal charms
- Acrylic or resin charms
- Glass beads with protective caps
- Leather tags with punched holes
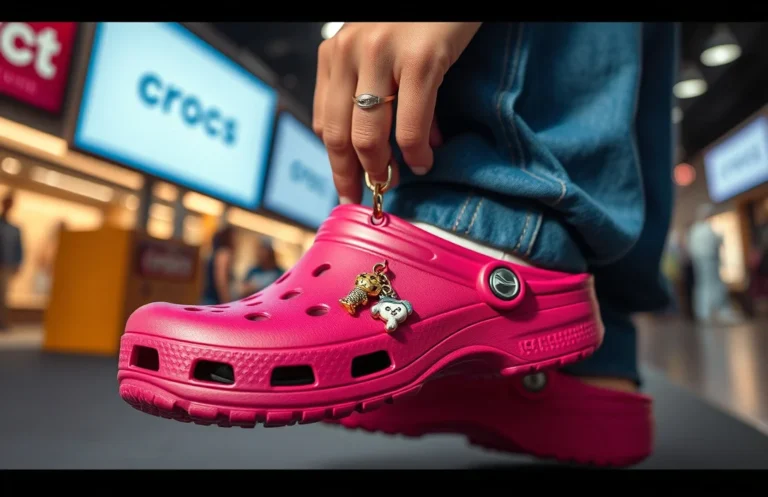
- Silicone or rubber charms
- Shoelace charm kits designed for lace attachments
Start with 3-4 pieces and test-combine on an old pair before committing to your daily shoes. This helps you evaluate how weight, color, and placement affect comfort.
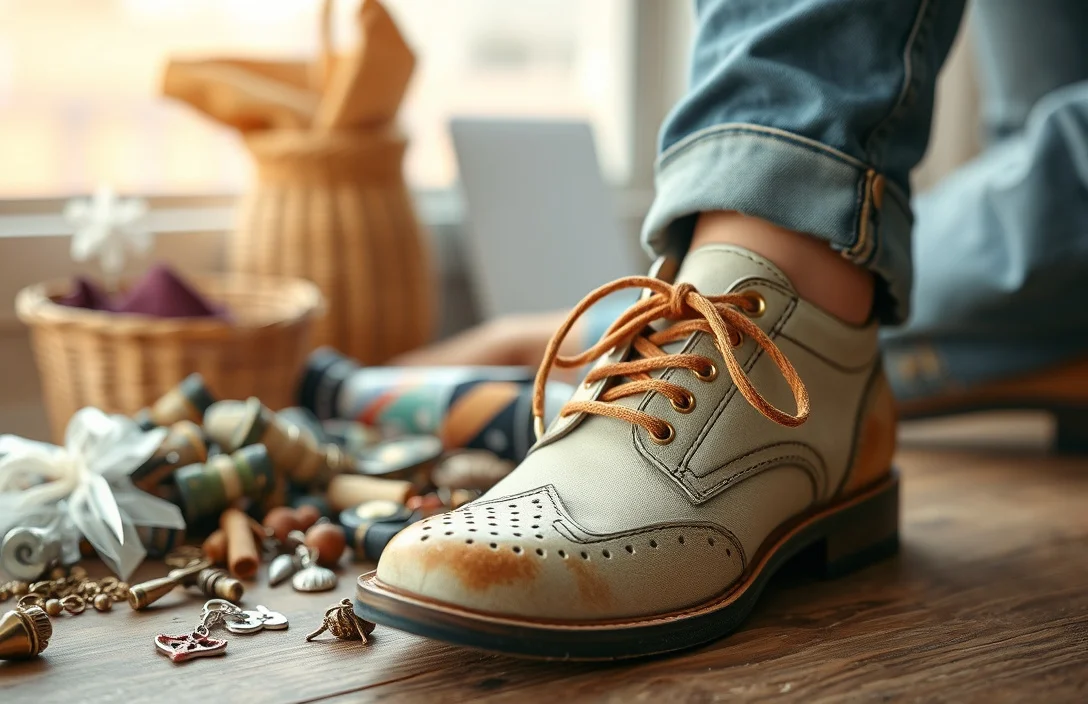
Match Charms to Shoes
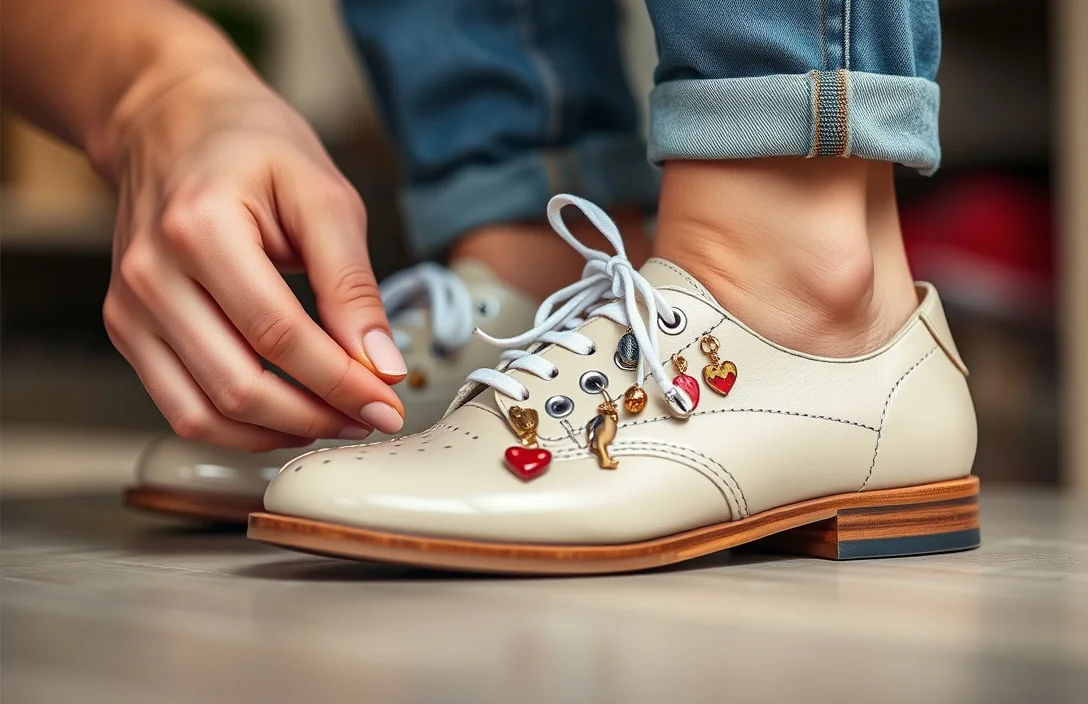
The shoe type guides the charm choice. Dress shoes benefit from small, flat, low-profile pieces that sit flush against the surface. Sneakers can handle brighter colors and larger silhouettes. Boots can accommodate heavier charms if weight is evenly distributed and attached to multiple lace loops.
Maintain color harmony. Charms that echo the shoe color or coordinate with your outfit appear cohesive, while wildly contrasting pieces can look cluttered. Experiment with 1-2 focal charms and 2-3 accents to avoid overwhelming the look.
Test weight and balance by attaching a single charm and walking around for a few minutes. If you notice tugging or an imbalance, readjust the charm. For high-traffic wear, favor secure attachments over loose decorative options, especially if running or making quick movements.
Aim for a clean approach: one or two charms on each shoe if you’re new, expanding to three or four only after you’re comfortable with the feel. This minimizes changes to the shoe’s flexibility and keeps laces manageable.
Attachment Methods for Shoes
Attachment options range from simple to permanent. The best method depends on your shoe type, charm weight, and whether you plan to remove them for washing. Start with non-permanent methods for daily wear and reserve permanent attachments for special occasions or shoes you don’t wash often.
Consider durability under movement, impact on foot comfort, and ease of removal without damage. For light, removable customization on fabric or knit sneakers, threaded laces and clip-ons often work well. For leather or heavy fabrics, a small rivet, eyelet, or stitched approach provides longer-lasting results.
- Threading charms onto laces. Simple and reversible; best for casual shoes with standard laces.
- Eyelet insert with jump rings. Holds charms at the lace line; modestly secure and easy to adjust.
- Small rivet or eyelet with backing plate. Very secure; permanent on leather or thick fabrics.
- Glue or adhesive patches. Quick and versatile; durability depends on surface and cure time.
- Stitching or sewing. Long-lasting on leather and canvas; requires basic sewing skills.
- Clip-on charms. Easy to remove; can snag on socks or pants and may loosen with movement.
Method pros and cons vary by surface and activity. For a balanced approach, pair a reversible method (threading or clip-ons) with an occasional permanent touch (tiny rivets) if you’re confident in your handiwork. Always test under typical daily movement before committing to a full set on both shoes.
| Method | Pros | Cons | Best For |
|---|---|---|---|
| Threaded Laces | Quick, reversible | Knots can loosen; laces fray | Casual sneakers, fabric shoes with standard laces |
| Eyelets and Jump Rings | Moderate security; subtle | Requires small rings; possible snag risk | Sneakers, low-cut boots with eyelets |
| Rivets / Small Eyelets | Very secure; durable | Permanent; requires tools | Leather or heavy fabric shoes; long-term wear |
| Glue / Adhesive | Works on flat surfaces; versatile | May fail in moisture; hard to remove | Decorative surfaces; non-lace areas |
| Sewing / Stitching | Very durable; long-lasting | Needs skill; can damage delicate materials | Leather, canvas, thick fabrics |
| Clip-Ons | Easy removal | Potential snag; less durable | Temporary decor, rental pairs, testing ideas |
Tools Needed for Charms
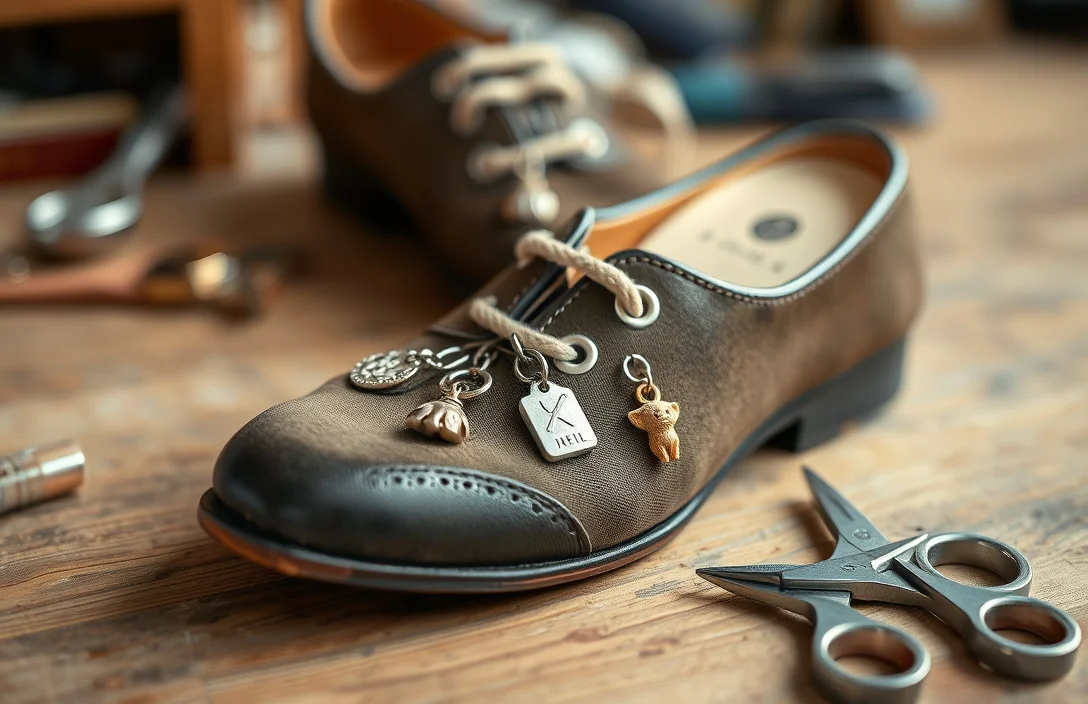
Having the right tools makes the process smoother. You’ll need pliers for tight control, a fine needle if sewing, sharp scissors, and small kickstands like clamps if you’re new to jewelry work. A ruler or caliper helps keep charm placement consistent across both shoes.
Essential tools:
- Fine point needle and waxed thread for sewing
- Small pliers or jewelry pliers
- Jump rings (2-3 mm inner diameter)
- Eyelets and rivet tools (if going permanent)
- Small scissors or thread snips
- Waterproof adhesive or leather glue (for non-fabric surfaces)
- Ruler or measuring tape to maintain symmetry
Optional but handy:
- Leather conditioner for leather-based attachments
- Tweezers for precise placement
- A stabilizing surface or mat to protect the shoe while working
With these basics, you’ll be ready to switch between attachment methods as your style evolves. Practicing on an old pair first helps you gauge how different charms sit on each surface and how much weight your laces can handle before they loosen.
Step by Step Charm Attachment
Plan your layout on both shoes before starting. Decide if you want a mirrored look or a deliberate asymmetry for flair. Lay out the charms in order of placement to avoid redoing steps mid-work.
- Decide layout. Mark positions with a light pencil or temporary tape where charms will go on the laces or surface.
- Prepare surfaces. Clean the area to reduce friction and ensure adhesives grip well.
- Thread or attach base pieces. For lace attachments, thread charms onto lace segments before tying knots. For surface attachments, position jump rings or anchor points first.
- Secure with chosen method. Tie secure knots, crimp with pliers, or set rivets using the respective tool. Check that the charm sits flat and won’t dig into the foot.
- Tighten and test. Move your foot through a small range of motion to ensure no snagging. If anything shifts, readjust before finishing.
- Repeat for the other shoe. Maintain symmetry or purposeful asymmetry; check that weights feel balanced.
- Final trim and finish. Trim any loose threads; recheck knots or rivet backs; if glue was used, allow for adequate cure time per product instructions.
You’ll find a two-step rhythm: attach something light first, then add a focal piece. If you notice snagging or rubbing, remove one charm and relocate it slightly higher or lower on the lace. With a little experimentation, you’ll find a look that feels both secure and stylish.
Securing Charms to Prevent Loss
Preventing loss starts with selecting the right attachment for the shoe and the wearing scenario. Reliability matters more than flash for errands or commuting. For daily wear, a mix of secure knots and a backup attachment plan works best.
Tips to prevent loss:
- Use locking knots on laces; double or triple knots add security.
- Add a small backstitch or knot behind the main knot to resist loosening.
- Pair a flexible thread with a short jump-ring anchor for each charm to distribute stress.
- For removable pieces, use clip-ons with a secondary attachment point to prevent easy detachment.
- Keep spare laces and a small repair kit in your bag for quick swaps.
If you choose permanent rivets or eyelets, ensure you have the right tools and follow safety guidelines for metalwork on shoes. Permanence is great, but it limits future changes, so reserve this for long-term favorites rather than fashion experiments you might not want to wear again.
Regular checks extend longevity. Inspect each attachment weekly for looseness, corrosion, or wear on lace holes. If you notice any weakness, re-tighten, replace the charm with a lighter alternative, or switch to a non-permanent method until you’re sure about the style.
Care and Longevity of Charms
Charms benefit from gentle care to prevent rust, color fading, or loosening. Clean metal parts with a soft cloth after wearing in rain or snow to remove moisture that could cause tarnish. For acrylic or plastic pieces, wipe with a damp cloth and avoid harsh solvents that might crack surfaces.
Adhesive-backed charms require careful treatment. Avoid soaking the shoes in water and give the glue ample curing time in a dry environment. For leather surfaces, condition the leather around the charm area to maintain flexibility, reducing the risk of cracks near the attachment point.
Storage matters, too. Store shoes in a cool, dry place away from direct sunlight. If possible, keep a clear overview of all charms and attachments to rotate pieces without overloading a single area. Rotation helps maintain both the charm’s life and the shoe’s structural integrity.
A practical maintenance routine:
- Inspect weekly for loosened knots or loose jump rings.
- Re-tighten or re-secure attachments as needed.
- Clean surface areas and check for adhesive failure after washing.
- Rotate charms to reduce constant stress on a single point.
Care with intention yields longer-lasting charm setups and a more polished look every time you lace up.
FAQ
How much does it cost to add charms to shoes?
Costs vary from $5 to $20 for a starter kit of charms and simple attachment tools; premium charms or specialized hardware can push toward $50, depending on materials and brands.
How long does it take to attach charms to shoes?
Plan about 15-25 minutes for a starter setup, depending on the number of charms and whether you’re drilling or sewing. A simple 1-2 charm arrangement is typically quicker.
Is it safe to attach charms to leather shoes?
Yes, with proper methods. Use non-permanent attachments or tools designed for leather, and avoid heavy adhesives that could alter the leather’s finish or flexibility.
How do I remove charms without damaging the shoes?
Loosen knots or pry rivets gently, then slide the charm away from laces or anchors. For adhesive charms, follow the product’s removal guidance and clean the surface afterward to restore finish.
Are there alternatives to charms on shoes?
Yes. Alternatives include decorative shoelace tips, shoe clips, or stitchable patches that offer similar customization with less risk to the shoe’s structure and finish.

- How Do You Use Shoe Charms? Attach, Swap & Care In Minutes - June 24, 2026
- How To Remove Shoe Charms From Crocs? - June 24, 2026
- How Do Crocs Customizable Jibbitz Charms Enhance The Shoes? - June 24, 2026