How To Install Jibbitz Shoe Charms?
Installing Jibbitz shoe charms is fast and simple. For a fresh Crocs look, you can complete the setup in under 10 minutes per pair. You’ll need a clean Crocs pair, the correct Jibbitz style for that model, and a soft cloth for prep. This guide covers Original, Clip, and Tie Jibbitz, plus removal, cleaning, and practical next steps.
Jibbitz installation on Crocs is straightforward: use the matching charm type, wipe the shoe with a clean cloth, align the holes, press until you hear a click, and repeat. Plan about 5-8 minutes per pair for a basic layout, then adjust for more charms if you want a fuller look. A few well-placed charms can dramatically change your Crocs’ vibe.
Key Takeaways
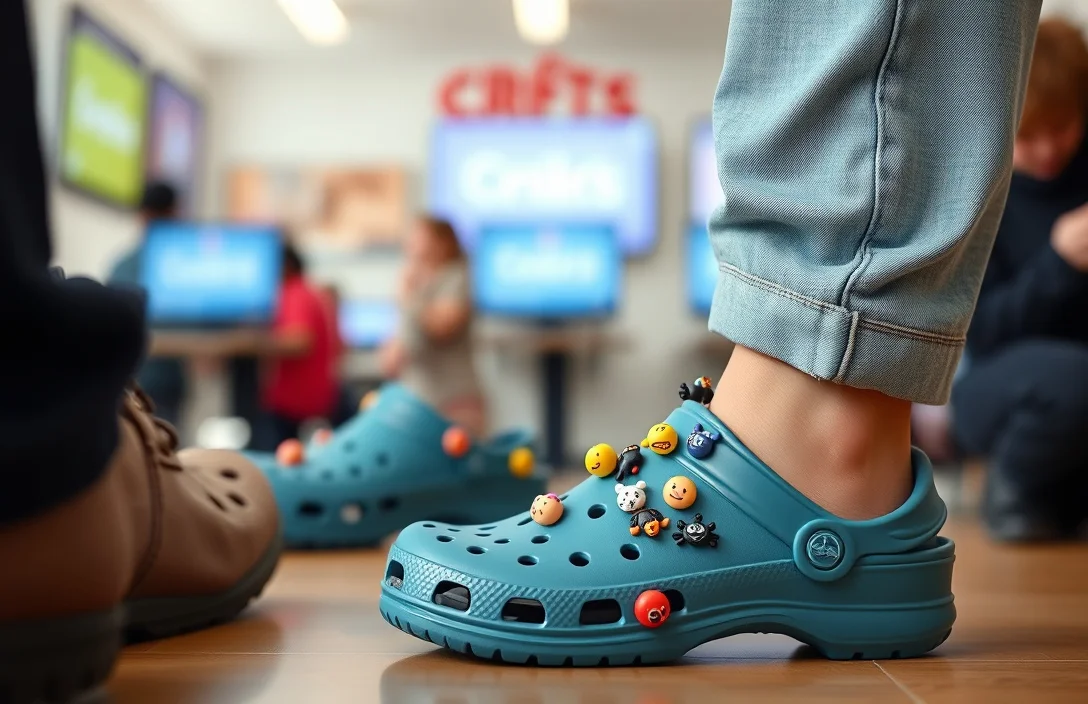
- Right style match. Use Original Jibbitz for standard Crocs holes; Clip Jibbitz fit newer Crocs with integrated clips.
- Clean surface first. Wipe the surface and holes with a microfiber cloth before installation.
- Align precisely. Position charms so the top edge sits flush with the Crocs surface before pressing.
- Click to secure. Press firmly until you hear a click to lock each charm in place.
- Plan layout. Aim for 6-8 charms per pair for a balanced look.
- Test fit. After installation, twist gently to verify every charm sits securely.
How to Put Jibbitz on Crocs Original Jibbitz
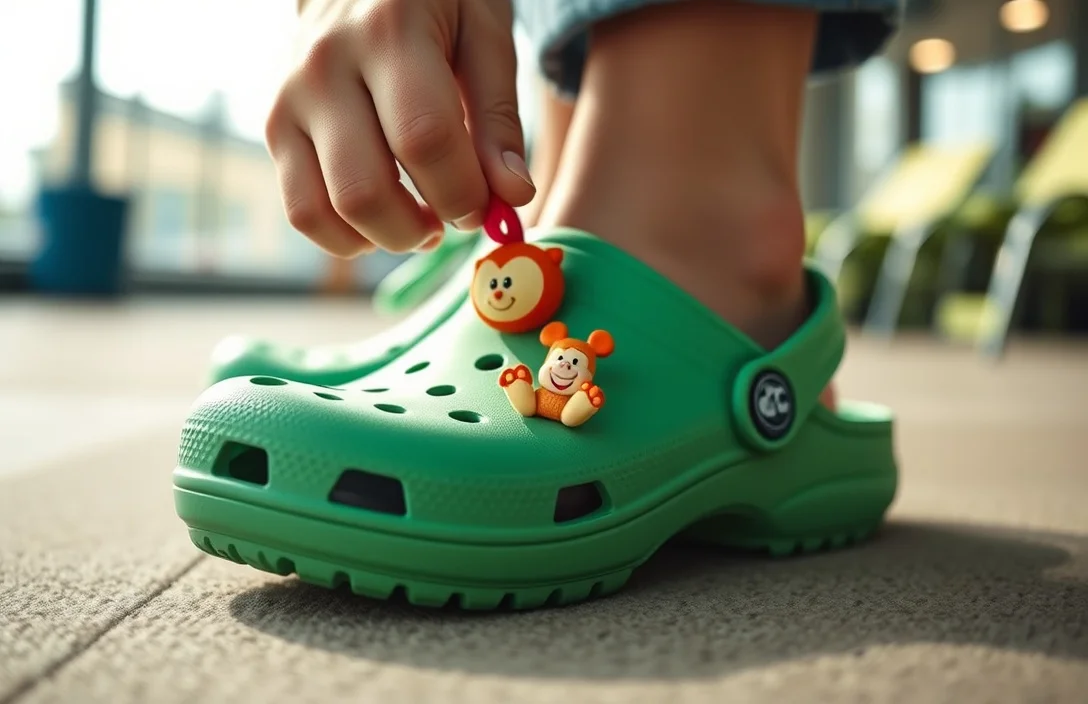
Original Jibbitz slide into Crocs holes with a simple push, so plan to treat each charm as a mini assembly task. The first move is to prepare the shoe surface, then lay out your charms in the order you want before committing to the holes. Don’t rush the alignment – a neat grid looks best and helps prevent loosening later.
Before you start, clear a clean workspace and arrange your chosen charms in your preferred sequence. You’ll want a few central pieces first to anchor the layout, then fill outward for balance. If a charm doesn’t sit flush after the first press, remove it and reinsert with a slightly firmer push.
Step-by-step process
1) Prepare Crocs: Clean the surface with a microfiber cloth, dry the holes, and remove any lint.
2) Select Original Jibbitz: Choose the icons you want and arrange them in the planned order.
3) Align charms: Position each charm over a hole so the top edge sits flush with the Crocs surface.
4) Insert and click: Push the charm straight into the hole until you hear a definitive click.
5) Verify and adjust: Wiggle gently to confirm a secure seat, then re-seat if needed.
6) Complete layout: Continue until the desired area is filled, leaving space for balance.
In practice, you can speed up the process by working in a small block pattern – center top, then two rows outward. If a charm refuses to sit, lift it straight up and reinsert, keeping the motion vertical to avoid bending the post. For those who want a quick reference, a compact table below shows the core actions and typical timing per charm.
| Action | What to do | Typical time per charm |
|---|---|---|
| Prepare Crocs | Clean surface and holes | ~1 min |
| Align grid | Place in planned order | ~1-2 min |
| Press to lock | Push until you hear a click | ~15-20 seconds |
| Verify fit | Lightly twist to test | ~10 seconds |
A few practical notes: Original Jibbitz are most forgiving if you want a classic, full-coverage look. They work best when you maintain consistent spacing and avoid crowding around the toe box. If your Crocs have a large number of holes in a tight area, leave a couple of spaces open to keep the silhouette balanced.
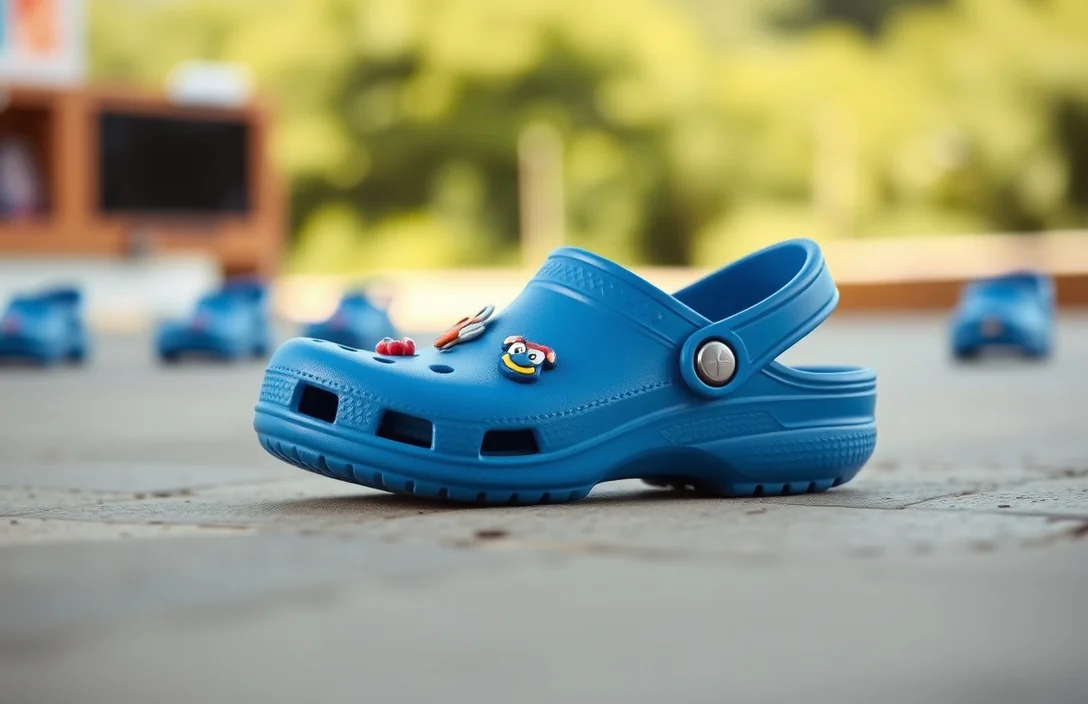
How to Put Jibbitz on Crocs Clip Jibbitz
Clip Jibbitz attach by snapping into Crocs holes using built-in clips, which makes them especially quick to install and remove. These are ideal for Crocs models that have the corresponding clip holes or slots. The key is to verify compatibility first, because not every Crocs style supports the clip mechanism.
Start by preparing the surface the same way as with Original Jibbitz. Clip Jibbitz require less deep insertion; the clip grips the hole edge and locks with a light snap. If you’re unsure about a particular hole, test with a single charm before committing the rest of the layout.
Step-by-step process
1) Check compatibility: Confirm your Crocs model supports Clip Jibbitz and has the appropriate clip holes.
2) Clean holes: Wipe away dust and oils; let everything dry completely.
3) Position clip over hole: Align the clip so the charm sits evenly on the surface.
4) Snap into place: Press firmly until the clip locks with a click.
5) Adjust layout: If needed, shift a few charms to improve balance.
6) Finish and test: Gently twist to confirm each charm holds.
In practice, Clip Jibbitz shine on models released in the last few years, where clip-enabled holes are more common. They’re easy to rearrange mid-season as your mood changes. If a clip feels loose, remove and reinsert with a slightly firmer press, ensuring the clip engages the edge completely.
How to Put Jibbitz on Crocs Tie Jibbitz
Tie Jibbitz thread onto Crocs laces, giving you a secure, elongated installation that doesn’t interfere with the foot’s contact area. This style is best when you want a splash of color along the lacing channel without crowding the toe area. Tie Jibbitz require a little extra planning to account for lace movement.
Begin by loosening the laces where you want the charms to sit, so there’s room to thread. Thread the charm’s post through the lace loop, then pull gently to seat the charm against the lace. Adjust the placement as you go to keep the row straight and even.
Step-by-step process
1) Prepare laces: Loosen the laces at the target zones to create threading space.
2) Pick Tie Jibbitz: Select charms with posts designed for lace threading.
3) Thread through lace: Feed the post through the lace loop until the charm rests against the surface.
4) Secure position: Pull the lace tight enough to hold the charm in place without distorting the knot.
5) Align and repeat: Place additional charms in a straight line along the lace, maintaining even spacing.
6) Final check: Tug gently on the laces to ensure none slide or tilt during wear.
In practice, Tie Jibbitz are excellent for adding color lines along the side of the shoe without interfering with the footbed. They can ride a bit higher on thinner laces, so you may need to adjust spacing if you switch to thicker laces later. If you remove them, rethread with the same threading path to keep consistency.
How to Remove and Reposition Jibbitz on Crocs
Removing Jibbitz is straightforward, but do it slowly to avoid tearing holes or loosening nearby charms. You’ll want to work a little at a time, especially if several charms surround a single anchor area. If a charm sits stubbornly, reapply pressure from a different angle or lift gently straight up before re-seating.
For Original and Clip Jibbitz, lift the edge with a fingernail or a soft tool, then slide the charm outward from the hole. For Tie Jibbitz, loosen the lace enough to give space, then slide the charm free without pulling on the knot. After removal, wipe the Crocs and charms to remove any residue before reinstallation.
Step-by-step process
1) Loosen surrounding charms: Create space around the target charm by slightly lifting neighbors.
2) Pry gently: Use a fingernail or a soft plastic tool to lift the charm edge.
3) Remove charm: Pull straight out from the hole or unwind the lace to free the charm.
4) Clean and inspect: Check the hole for wear or debris; wipe if needed.
5) Reposition or replace: Reinsert into a new spot or swap in a different charm.
6) Re-test: Press or snap to confirm a secure hold after repositioning.
In practice, removing and reusing charms is common as you adjust your style. If you notice cracks or looseness in the hole over time, consider swapping to a new set of Jibbitz that suit the model’s wear pattern. Always recheck the overall balance after any repositioning to keep the look cohesive.
How to Clean Jibbitz and Crocs After Installation
Cleaning after installation keeps both the charms and the Crocs looking fresh. Use mild soap and warm water, then rinse thoroughly. Avoid harsh chemicals that might degrade plastic or fade colors, and let everything air dry completely before wearing again.
If you wear your Crocs in wet or sandy environments, rinse the charms and holes promptly to prevent grit buildup. For storage, keep Jibbitz in a small bag to avoid scratching other hardware. Regular light cleaning is better than deep cleans that can stress the charm posts or lacing threads.
Step-by-step process
1) Remove or loosen: If needed, temporarily remove a few charms for easier cleaning.
2) Wash gently: Use mild soap and warm water; scrub with a soft brush if needed.
3) Rinse and dry: Rinse thoroughly and air dry completely.
4) Wipe surfaces: Dry the charms and Crocs with a clean microfiber cloth to prevent water spots.
5) Inspect for wear: Check posts, clips, and laces for any signs of damage; replace as necessary.
6) Reinstall: Put the charms back in their places once dry.
In practice, a quick wipe-down after a beach or gym session can extend the life of both the charms and the Crocs. If you notice color fading on high-contrast charms, rotate in a new set to keep the look sharp. A soft storage pouch helps keep everything organized between wears.
FAQ
Are Jibbitz universal across Crocs models?
Original Jibbitz fit standard Crocs holes, while Clip and Tie variants require corresponding hole types or lacing configurations. If you mix styles, double-check compatibility on each Crocs model to avoid loose fits or damage.
Can I install Jibbitz if my Crocs are new or already worn?
Yes. New Crocs are easiest, but you can install on used pairs as well. Clean the holes and surface first, then proceed with your chosen style. If a hole is stretched or damaged, skip it and switch to an adjacent one.
How long do Jibbitz last with regular wear?
Most Jibbitz stay secure for months of regular wear, assuming you don’t yank them out. Check for looseness every few weeks and rotate charms to prevent uneven wear on any single post.
What is the best way to remove and reposition without damage?
Gently pry the edge with a fingernail or soft plastic tool, lift straight up, then reinsert in a new spot. Avoid forceful yanking or twisting to protect the hole and surrounding charms.
Do I need special tools or cleaners to maintain Jibbitz?
No special tools required beyond a microfiber cloth and mild soap. Avoid harsh chemicals that can fade colors or degrade plastic; air-dry completely before wearing.
Verdict and next steps
Install Jibbitz on Crocs is fast, repeatable, and surprisingly forgiving. Start with Original Jibbitz for a classic, broad-compatibility look, add Clip variants for quick changes, and mix Tie Jibbitz for lace accents. Your next step is to pick a layout you love, prep the shoes, and run through the step-by-step install on a single foot before duplicating on the other.
Frequently Asked Questions
How do I start installing Original Jibbitz on Crocs?
Begin by cleaning the surface and drying the holes. Lay out the charms in planned order, then align each charm with a hole before pressing. Push straight into the hole until you hear a click and test the fit.
How do I install Clip Jibbitz on Crocs and ensure the clip locks into place?
Check compatibility and ensure the Crocs have clip holes. Wipe holes clean and dry, then place the clip over the hole and press until it snaps. Gently twist to verify the charm holds and adjust layout if needed.
How do I thread Tie Jibbitz onto Crocs laces without crowding the toe area?
Loosen the laces at the target zones to create threading space. Thread the post through the lace loop, then seat the charm against the surface. Repeat in a straight line with even spacing and check the final alignment.
How can I verify each charm is secure after installation?
After installation, gently twist the Crocs to test for movement. If a charm moves, re-seat it with a firmer press (or rethread for Tie Jibbitz) and test again.
How do I remove and reposition Jibbitz without harming Crocs?
For Original and Clip Jibbitz, lift the edge with a fingernail or soft tool and slide outward from the hole. After removal, wipe surfaces before reinstalling. For Tie Jibbitz, loosen the lace to create space before sliding the charm free. Then proceed with reinstallation as needed.
- How Do Shoe Charms Work? Explained Simply - June 24, 2026
- How To Install Jibbitz Shoe Charms? - June 24, 2026
- Personalization Ideas For Sneaker Charms - June 24, 2026